- Add an authentication server with a type of RADIUS.
- Select the protocol as MS-CHAPv2.
- Create a shared secret.
- Make the Authentication Timeout as 60.
- The RADIUS NAS IP Attribute doesn’t seem to have any impact for me, but for cleanliness of MS Event Logs I set this to WAN.
- Key Exchange Version: IKEv2.
- Authentication Method: EAP-RADIUS.
- My Identifier: IP address (use the WAN Interface IP Address) or change this to the FQDN of your public cert.
- Peer Identifier: any
- My Certificate: use a newly created self-signed cert, or your public cert.
- Encryption Algorithms:
- AES256-GCM, 128bits, SHA256, 16
- AES256-GCM, 128bits, SHA256, 2
- AES, 256bits, SHA256, 14
- AES, 256bits, SHA1, 14
- MOBIKE: Enable
- Mode: Tunnel
- Local Network: expose your routes etc here
- Protocol: ESP
- Encryption Algorithms:
- AES, 256bits
- AES128-GCM, 128bits
- AES256-GCM, Auto
- Hash Algorithms:
- SHA256, SHA384, SHA512
- PFS Key Group: 14
- User Authentication: your RADIUS authentication server (NPS)
- Virtual Address Pool: Provide a virtual address
- RADIUS Advanced Parameters:
- Retransmit Timeout: 60
- Retransmit Tries: 1
- Network List: Ticked
- DNS Servers: Ticked
- Add a RADIUS Client
- The Address must be the internal interface of your pfSense
- Set the shared secret to what you set on the pfSense RADIUS secret config
- Add a new network policy
- Enable the policy
- Grant access
- Ignore user account dial-in properties: Ticked
- Conditions: setup for your liking, ie group membership
- Constraints: add an EAP Type of Microsoft: Secured password (EAP-MSCHAP v2) and set the number of Authentication retries to 1. You can remove all other authentication methods.
- Install the NPS extension for Microsoft Entra Multifactor Authentication.
- You can follow all the defaults here, there is nothing specific to RADIUS/pfSense
- In my environment I had to change the registry for the OTP settings. The Microsoft guide said that this is no longer needed, but I still had to do it.
- New String: HKLM\Software\Microsoft\AzureMFA value = FALSE
The Microsoft Azure landscape is changing drastically and it's doing a good job of moving resource management to a more modern view. Coupled with Microsoft's security initiatives (Intune, Defender, Sentinel, Copilots for Security), Azure ARC is a great way of managing on-prem servers for updates.
Microsoft has a few ways of enrolling on-prem machines into ARC, but it's tedious to do this without bulk enrolment. Currently they support Config Manager, Group Policy or Ansible bulk enrolment. There is a Powershell option, but I guess it's meant as a starting point for devs as it doesn't actually do much. Let's fix it and have it remote install via Powershell to domain joined machines.
Follow the initial steps of creating the subscription, resource group and service principal. Grab the latest "Basic Script" ie Powershell (as the below might be out of date) and wrap it around some Invoke-Command. Replace the values in <> that come from your script that it generates for you.
# Read machine names from CSV file
$machineNames = Import-Csv -Path "arc_machines.csv" | Select-Object -ExpandProperty MachineName
$credential = (Get-Credential)

# Iterate through each machine
foreach ($machineName in $machineNames) {
    try {
        # Invoke-Command to run commands in an elevated context on the remote machine
        Write-Host "Attempting to install on $machineName"
        Invoke-Command -ComputerName $machineName -Credential $credential -ScriptBlock {
            # Code to execute on the remote machine
            $ServicePrincipalId="";
            $ServicePrincipalClientSecret="";

            $env:SUBSCRIPTION_ID = "";
            $env:RESOURCE_GROUP = "";
            $env:TENANT_ID = "";
            $env:LOCATION = "";
            $env:AUTH_TYPE = "principal";
            $env:CORRELATION_ID = "";
            $env:CLOUD = "AzureCloud";

            [Net.ServicePointManager]::SecurityProtocol = [Net.ServicePointManager]::SecurityProtocol -bor 3072;

            # Download the installation package
            Invoke-WebRequest -UseBasicParsing -Uri "https://aka.ms/azcmagent-windows" -TimeoutSec 30 -OutFile "$env:TEMP\install_windows_azcmagent.ps1";

            # Install the hybrid agent
            & "$env:TEMP\install_windows_azcmagent.ps1";
            if ($LASTEXITCODE -ne 0) { exit 1; }

            # Run connect command
            & "$env:ProgramW6432\AzureConnectedMachineAgent\azcmagent.exe" connect --service-principal-id "$ServicePrincipalId" --service-principal-secret "$ServicePrincipalClientSecret" --resource-group "$env:RESOURCE_GROUP" --tenant-id "$env:TENANT_ID" --location "$env:LOCATION" --subscription-id "$env:SUBSCRIPTION_ID" --cloud "$env:CLOUD" --correlation-id "$env:CORRELATION_ID";
        }
    }
    catch {
        Write-Host "Error occurred while connecting to $machineName : $_" -ForegroundColor Red
    }
}
Next create the file arc_machines.csv with one column called MachineName and each row being the DNS/NETBIOS name of the machine you want to remote into. The script will ask for your domain creds when starting which will be used to Invoke-Command into the remote host. It'll then use the Service Principal to enroll the machine into ARC.
Ubiquiti Unifi OS devices now restrict updates to its own platform when it thinks a disk is unhealthy. This is the most pointless and infuriating UX change the Ubiquiti has made (and they've made a few terrible changes in the past).

At-risk disks are flagged:
- Bad sectors being reported on the disk
- Uncorrectable disk errors detected
- Failures reported in the disk’s Self-Monitoring, Analysis and Reporting Technology system (SMART)
- The disk has reached 70% of the manufacturer’s recommended read and write lifespan (SSDs)
To not allow updates to their own platform stagnates feature development, bug fixes and security enhancements. Sure, make the admin aware that they have an at-risk disk, but don't prevent them from getting your latest updates, that's just purposefully punishing your customers over things that are not their fault.
In my case, my disk was old, but still healthy. I am not sure whether the power on hours were a flag from SMART or maybe the temperature went over some arbitrary threshold they decided to implement.

I was able to work around this by manually upgrading the platform.
- Enable SSH on the controller
- Use the ubnt-systool and associated FW links as documented here: https://help.ui.com/hc/en-us/articles/204910064-UniFi-Advanced-Updating-Techniques
- Reboot and enjoy
Sometimes even in the most organised of worlds, we still manage to miss patching older systems. I found an old HP iLO server running iLO 4 - 1.20 with no way to log into it. Every modern browser and OS has now deprecated old TLS, RC4 and 3DES cyphers for certificates with the most common FF error being thrown: SSL_ERROR_NO_CYPHER_OVERLAP.
Irrespective of what I tried (such as security.tls.version.min, version.fallback-limit, IE compatibility modes) nothing would work. Even an old 2008 server running IE wouldn't work because of Javascript blocking etc. Unfortunately the only way I could work around this was to spin a Win7 machine running original IE to bust into it. Ideally I wouldn't have had to roll a new Win7 VM, but old versions for this reason should be in everyones toolbox.
Once in, it's easy enough to upgrade to a more modern iLO FW which supports modern TLS considering that HP make it readily available https://support.hpe.com/connect/s/softwaredetails?language=en_US&softwareId=MTX_729b6d22f37f4f229dfccbc3a9.
This is the computed list of SSH bruteforce IP’s and commonly used usernames for April 2013.
Top 50 SSH bruteforce offenders IP’s.
| Failed Attempt Count | IP |
| 479633 | 223.4.147.158 |
| 389495 | 198.15.109.24 |
| 354877 | 114.34.18.25 |
| 324632 | 118.98.96.81 |
| 277040 | 61.144.14.118 |
| 118890 | 92.103.184.178 |
| 113896 | 208.68.36.23 |
| 110541 | 61.19.69.45 |
| 102587 | 120.29.222.26 |
| 98027 | 216.6.91.170 |
| 87315 | 219.143.116.40 |
| 71213 | 200.26.134.122 |
| 68007 | 38.122.110.18 |
| 65463 | 133.50.136.67 |
| 65187 | 121.156.105.62 |
| 57918 | 210.51.10.62 |
| 55575 | 10.40.54.5 |
| 52888 | 110.234.180.88 |
| 51473 | 61.28.196.62 |
| 46058 | 223.4.211.22 |
| 45495 | 183.136.159.163 |
| 45363 | 61.28.196.190 |
| 41791 | 1.55.242.92 |
| 40654 | 223.4.233.77 |
| 39423 | 61.155.62.178 |
| 39360 | 61.28.193.1 |
| 39296 | 211.90.87.22 |
| 38516 | 119.97.180.135 |
| 35799 | 221.122.98.22 |
| 35077 | 109.87.208.17 |
| 31106 | 78.129.222.102 |
| 29505 | 74.63.254.79 |
| 28676 | 65.111.174.19 |
| 28623 | 116.229.239.189 |
| 28092 | 81.25.28.146 |
| 26782 | 223.4.148.150 |
| 26493 | 218.69.248.24 |
| 25853 | 210.149.189.6 |
| 25241 | 223.4.27.22 |
| 25231 | 221.204.252.149 |
| 25089 | 125.69.90.148 |
| 23951 | 69.167.161.58 |
| 22912 | 202.108.62.199 |
| 22433 | 61.147.79.98 |
| 22372 | 111.42.0.25 |
| 22068 | 218.104.48.105 |
| 21988 | 120.138.27.197 |
| 21914 | 14.63.213.49 |
| 21882 | 60.220.225.21 |
| 20780 | 195.98.38.52 |
Top 50 SSH bruteforce usernames.
| Failed Attempt Count | Username |
| 2407233 | root |
| 45971 | oracle |
| 40375 | test |
| 26522 | admin |
| 22642 | bin |
| 20586 | user |
| 18782 | nagios |
| 17370 | guest |
| 13292 | postgres |
| 11193 | www |
| 11088 | mysql |
| 10281 | a |
| 10228 | webroot |
| 10061 | web |
| 9143 | testuser |
| 8946 | tester |
| 8708 | apache |
| 8611 | ftpuser |
| 8442 | testing |
| 8095 | webmaster |
| 7379 | info |
| 7112 | tomcat |
| 6826 | webadmin |
| 6309 | student |
| 6255 | ftp |
| 6254 | ts |
| 5947 | backup |
| 5688 | svn |
| 5314 | test1 |
| 5127 | support |
| 4743 | temp |
| 4378 | teamspeak |
| 4335 | toor |
| 4149 | test2 |
| 4046 | www-data |
| 3944 | git |
| 3907 | webuser |
| 3852 | userftp |
| 3637 | news |
| 3626 | cron |
| 3594 | alex |
| 3581 | amanda |
| 3535 | ts3 |
| 3397 | ftptest |
| 3378 | students |
| 3360 | test3 |
| 3283 | |
| 3243 | games |
| 3132 | test123 |
| 3093 | test4 |
As mentioned, I can confirm that Cisco Call Manager 9 (CCM9 ) does work in VirtualBox and can be installed in a similar manner to CCM7. I have had both 9.0.1 and 9.1.1 have been installed with all services running perfectly.
As we did with CCM7, CCM9 must first be installed in VMware and then moved over to VirtualBox. CCM9 is now 100% supported in VMware, so the install process should be flawless. Keep in mind though that VirtualBox is definitely not officially supported, so you will get no help from TAC. This should only be used in a lab environment.
The minimum requirements for CCM9 are the same as they were in CCM7, 1x 80GB SCSI disk with 2048MB RAM. The CUC prerequisites have changed slightly and if you use 80GB/2048MB you won’t be able to install CUC. I haven’t been bothered to find the minimum requirements for CUC but I’ll post them up when I get some time.
I’ve used VMware Workstation 8.0, but you should be able to use any version of VMware to build the initial machine. All we need to do is to have the install complete and boot successfully, all other finer details can be changed once we move over to VirtualBox.
- Start by creating a new VM and choose a custom config.
- Depending on your version of VMware this may change, but I used Workstation 8.0 as the hardware platform.
- We don’t want to use the auto deployment scripts and we will need to modify the hardware before boot, so just choose the ISO later.
- Any version of Red Hat should work here, but I used 64-bit version of Enterprise 6.
- Name it appropriately.
- One processor is enough but if you’ve got more resources to throw at it, you may be able to do it here as long as you match the same in VirtualBox later.
- Same goes for the RAM. The minimum requirements call for 2048MB but if you’ve got more, chuck it in.
- I hate using NAT, but it’s probably useful for labs. In any case I’ve got bridged here, but we will redo this step later in the VBox config.
- Make sure you use SCSI here. I haven’t tried SAS but it may work too.
- Create a new HDD.
- Make sure this is set to SCSI, it won’t work with IDE here.
- I’ve got the minimum as 80GB here, but if you’ve got more throw it here.
- This is where the vmdk is stored, make sure you take note of the location as we will need this file later to import into VBox.
- Finish it up.
- Edit your VM before powering it on, we’ve got a few things to do here.
- Select the CD/DVD drive and browse for your ISO.
- Select your ISO.
- I’ve finished up here, but if you want you can remove the floppy, sound cards etc.
- Power on the VMWare image.
- The install process here is exactly the same as a typical CCM9 install, I’ve included it just for the sake of doing so.
- Notice here that CUC isn’t available because our hardware config is too low speccd.
- This will take quite a while.
- Once the installation has finished, log in and shut it down.
- Now it’s time to fire up VirtualBox.
- Add a new Red Hat 64-bit guest.
- Make sure your memory size is the same as what you built in VMware.
- We need to not add a new hard drive here (we will be reusing the one built by VMware).
- Just accept this.
- We need to edit our VM before powering it on.
- Remove the SATA controller, if you remember we built the VM in VMware using SCSI disks.
- Add a SCSI controller.
- Select Choose Existing Disk.
- Browse to the vmdk file that was outputted by VMware.
- Your disk setup should now look like this.
- Choose the IDE CDROM drive to boot from the CentOS live boot disk. Note that you can boot of any live distro, I actually used the Ubuntu 12.04 live CD because I was having issues with remote key forwarding to the VM whilst using CentOS.
- Again, I hate NAT’ed NIC’s so I switched mine to bridged.
- Mount your CCM partition and chroot to it.
- vi/nano/whatever the hardware_check.sh script in /usr/local/bin/base_scripts/ which is similar to what we did in CCM7.
- Find the function check_deployment() as shown below.
- Like we did for CCM7 edit out the isDeploymentValidForHardware function.
- Make sure you save the file, I used vi to edit this so :wq! it.
- Throw the following lines in to change the hardware type to match those by VMware.
vboxmanage setextradata “<VM name>” “VBoxInternal/Devices/pcbios/0/Config/DmiBIOSVersion” “6 ”
vboxmanage setextradata “<VM name>” “VBoxInternal/Devices/pcbios/0/Config/DmiSystemVendor” “VMware”
vboxmanage setextradata “<VM name>” “VBoxInternal/Devices/pcbios/0/Config/DmiBIOSVendor” “Phoenix Technologies LTD”
vboxmanage setextradata “<VM name>” “VBoxInternal/Devices/pcbios/0/Config/DmiSystemProduct” “VMware Virtual Platform” - Now you’re ready to fire up CCM9 in VirtualBox so just run that thang.
- On bootup you should be able to see the OS detecting all your hardware as VMware devices – this is a good thing, don’t worry
- If you receive some weird output, don’t worry too much, the important thing is that the OS boots and services start successfully.
- Again, ignore any of these types of errors, this is why this shouldn’t be used in production.
- Login, hooray!
- Because the hardware has been modified slightly, the OS is unable to detect the vCPU and the amount of RAM.

- However, everything still works perfectly 😉
Just a few notes about the install. In the CCM7 install I did before, I added a new user whilst chroot’ed over to the CCM partition so we could SSH in later to modify the check_deployment() script. I only attempted a few times, but every time I tried my SSH user couldn’t log in. All permissions were set correctly, the user was added to the OS properly but SSH wouldn’t work. I’m sure if I dug deeper I would probably find some sort of SSH permission script in Cisco’s funky land, but for the purposes of getting CCM9 into VirtualBox it wasn’t needed.
I’ll be posting some more info on the topic as I use this more. Also, due to CCM9’s new licensing model I *may* look at loading licenses on to get this running past the 60 day limitation.
Good luck
x90
Following on from the previous article I wrote about CCM7 in VirtualBox I can confirm that CCM9 can be installed in a similar manner. Both 9.0.1 and 9.1.1 have been installed with all services running perfectly.
I will post up a detailed guide on how to install and configure CCM9 in VirtualBox shortly.
I wanted to share some info on a recent issue I faced with Microsoft Hyper-V Server SP1 and trunking.
We are in an environment where we wanted to deploy a Hyper-V host to a site and have a trunk from a Cisco switch so that we could throw guests into different VLAN’s. Sounds relatively simple, and in the VMware environment it is, but Hyper-V proved a little more difficult to grasp.
Let me just run through a brief explanation of how the host is setup. We built the Hyper-V Server host, gave it an IP, added it to the domain and registered it in DNS. In SMVMM 2012 we defined a logical network in the fabric and added the VLAN and IP subnet (in CIDR) to the network site. We did not define an IP address pool for the logical network, as DHCP will be taking care of this for us. Next we added the host to VMM. We then deployed the host to the site and proceeded to modify the network settings to configure trunking remotely.
This was our downfall.
Remotely – in the host properties, we enabled logical network connectivity from out logical network, changed the NIC to trunk and made sure the subnet and VLAN details were correct. We then added the virtual network interface and granted host access through a VLAN so that we could still manage the host. Then we applied all the changed to the host.
What we did not know is that the host would apply settings one by one, and NOT send all config to the host to apply. What happened was that the host applied the trunking details and then could not apply the virtual network details as the host became offline.
After reading a tonne of unhelpful articles we solved the problem via the following:
- Cabling the second NIC.
- The second NIC got an IP via DHCP and hence moved the DNS record for the host.
- As the host was added to VMM using DNS, the network settings were applied properly which meant that the virtual network was created, bringing our trunked host back online.
- Once the host was up DNS had registered both IP’s so that we could safely shut down the second NIC, or allocate it to a management only NIC.
Hope this helps either explain a brief overview of trunking in Hyper-V or provide a solution to a similar problem.
Tonight I’ve been upgrading a CallManager 7.1.3 cluster to 7.1.5. This is a minor upgrade, but still follows upgrade procedures as usual.
I experienced two issues which I just need to note down.
Firstly, upon a switch version to the new partition CallManager takes A LONG TIME to start its services. The trap that I fell into was that I SSH’d to the box to check how the service start was going when I was greeted with this:
Requesting service status, please wait…
System SSH [STARTED]
Cluster Manager [STOPPED] Service Not Started
Service Manager [Not Running]
Warning: Service Manager need to be running for all Call Processing Applications
I started to freak out thinking that my new upgraded partition was fkd. I played with all sorts of starts and restarts shown below:
admin:utils service start Cluster Manager
Service Stopped
Cluster Manager [STOPPED]

admin:utils service start Service Manager
Starting servM
admin:
I rebooted the box hoping that something had got stuck and that it just needed a kick. When it came back up and SSH showed the same thing I tried to start services that I knew I hit the following:
admin:utils service start Cisco Database Layer Monitor
Service Manager [Not Running]
Warning: Service Manager need to be running for all Call Processing Applications
admin:utils service start Cisco Database Layer Monitor
Service Manager [Not Running]
Warning: Service Manager need to be running for all Call Processing Applications
admin:utils service start Cluster Manager
Service Stopped
Cluster Manager [STOPPED]
By this time I was freaking so I moved away for a few mins to work on something else. I came back and checked the service list again, and everything had started! So I guess the moral here is that 1. services don’t show as starting when they are starting for the first time. 2. an upgrade and switch partition takes a long time!
The second issue I had was a box not rebooting to its switched partition. I tried to force the switch but hit the following:
admin:utils system switch-version

Active Master Version: 7.1.3.32009-2
Inactive Master Version: 7.1.5.30000-1

If you are switching to an earlier release, you must run:
utils dbreplication reset all
from the publisher after all the nodes are switched over.
Do you really want to switch between versions ?

Enter (yes/no)? yes

Switching Version and Restarting the Appliance …

Switch version duration can vary depending on the database size
and platform configuration.  Please continue to monitor the
switchover process from here.

Waiting ………………………….

Operation failed

ERROR: Acquiring lock failed
I started to freak again. Then I found this page: http://iptbuzz.blogspot.com.au/2011/10/switch-version-doesnt-switch.html props to the guy who wrote that, because it worked perfectly! I manually rebooted the box and then forced a switch version and rebooted again and everything was gravy.
I’m yet to play with 8.x as we are waiting for 9 with proper VM support, but I hope that Cisco manage to fix their dodgey CCM scripting!
I thankfully received the extra 6 usb to serial cables today aswell as the Sunix USB PCI adapter. The GNS machine was rebooted, the drivers were loaded for the Sunix automatically and the additional usb to serial cables were registered without a hitch! For the first time since I started this quest I am able to console and telnet to all of my devices – I guess now the actual work starts.
Below are some new photos of the lab and telnet/console sessions to all of the devices.
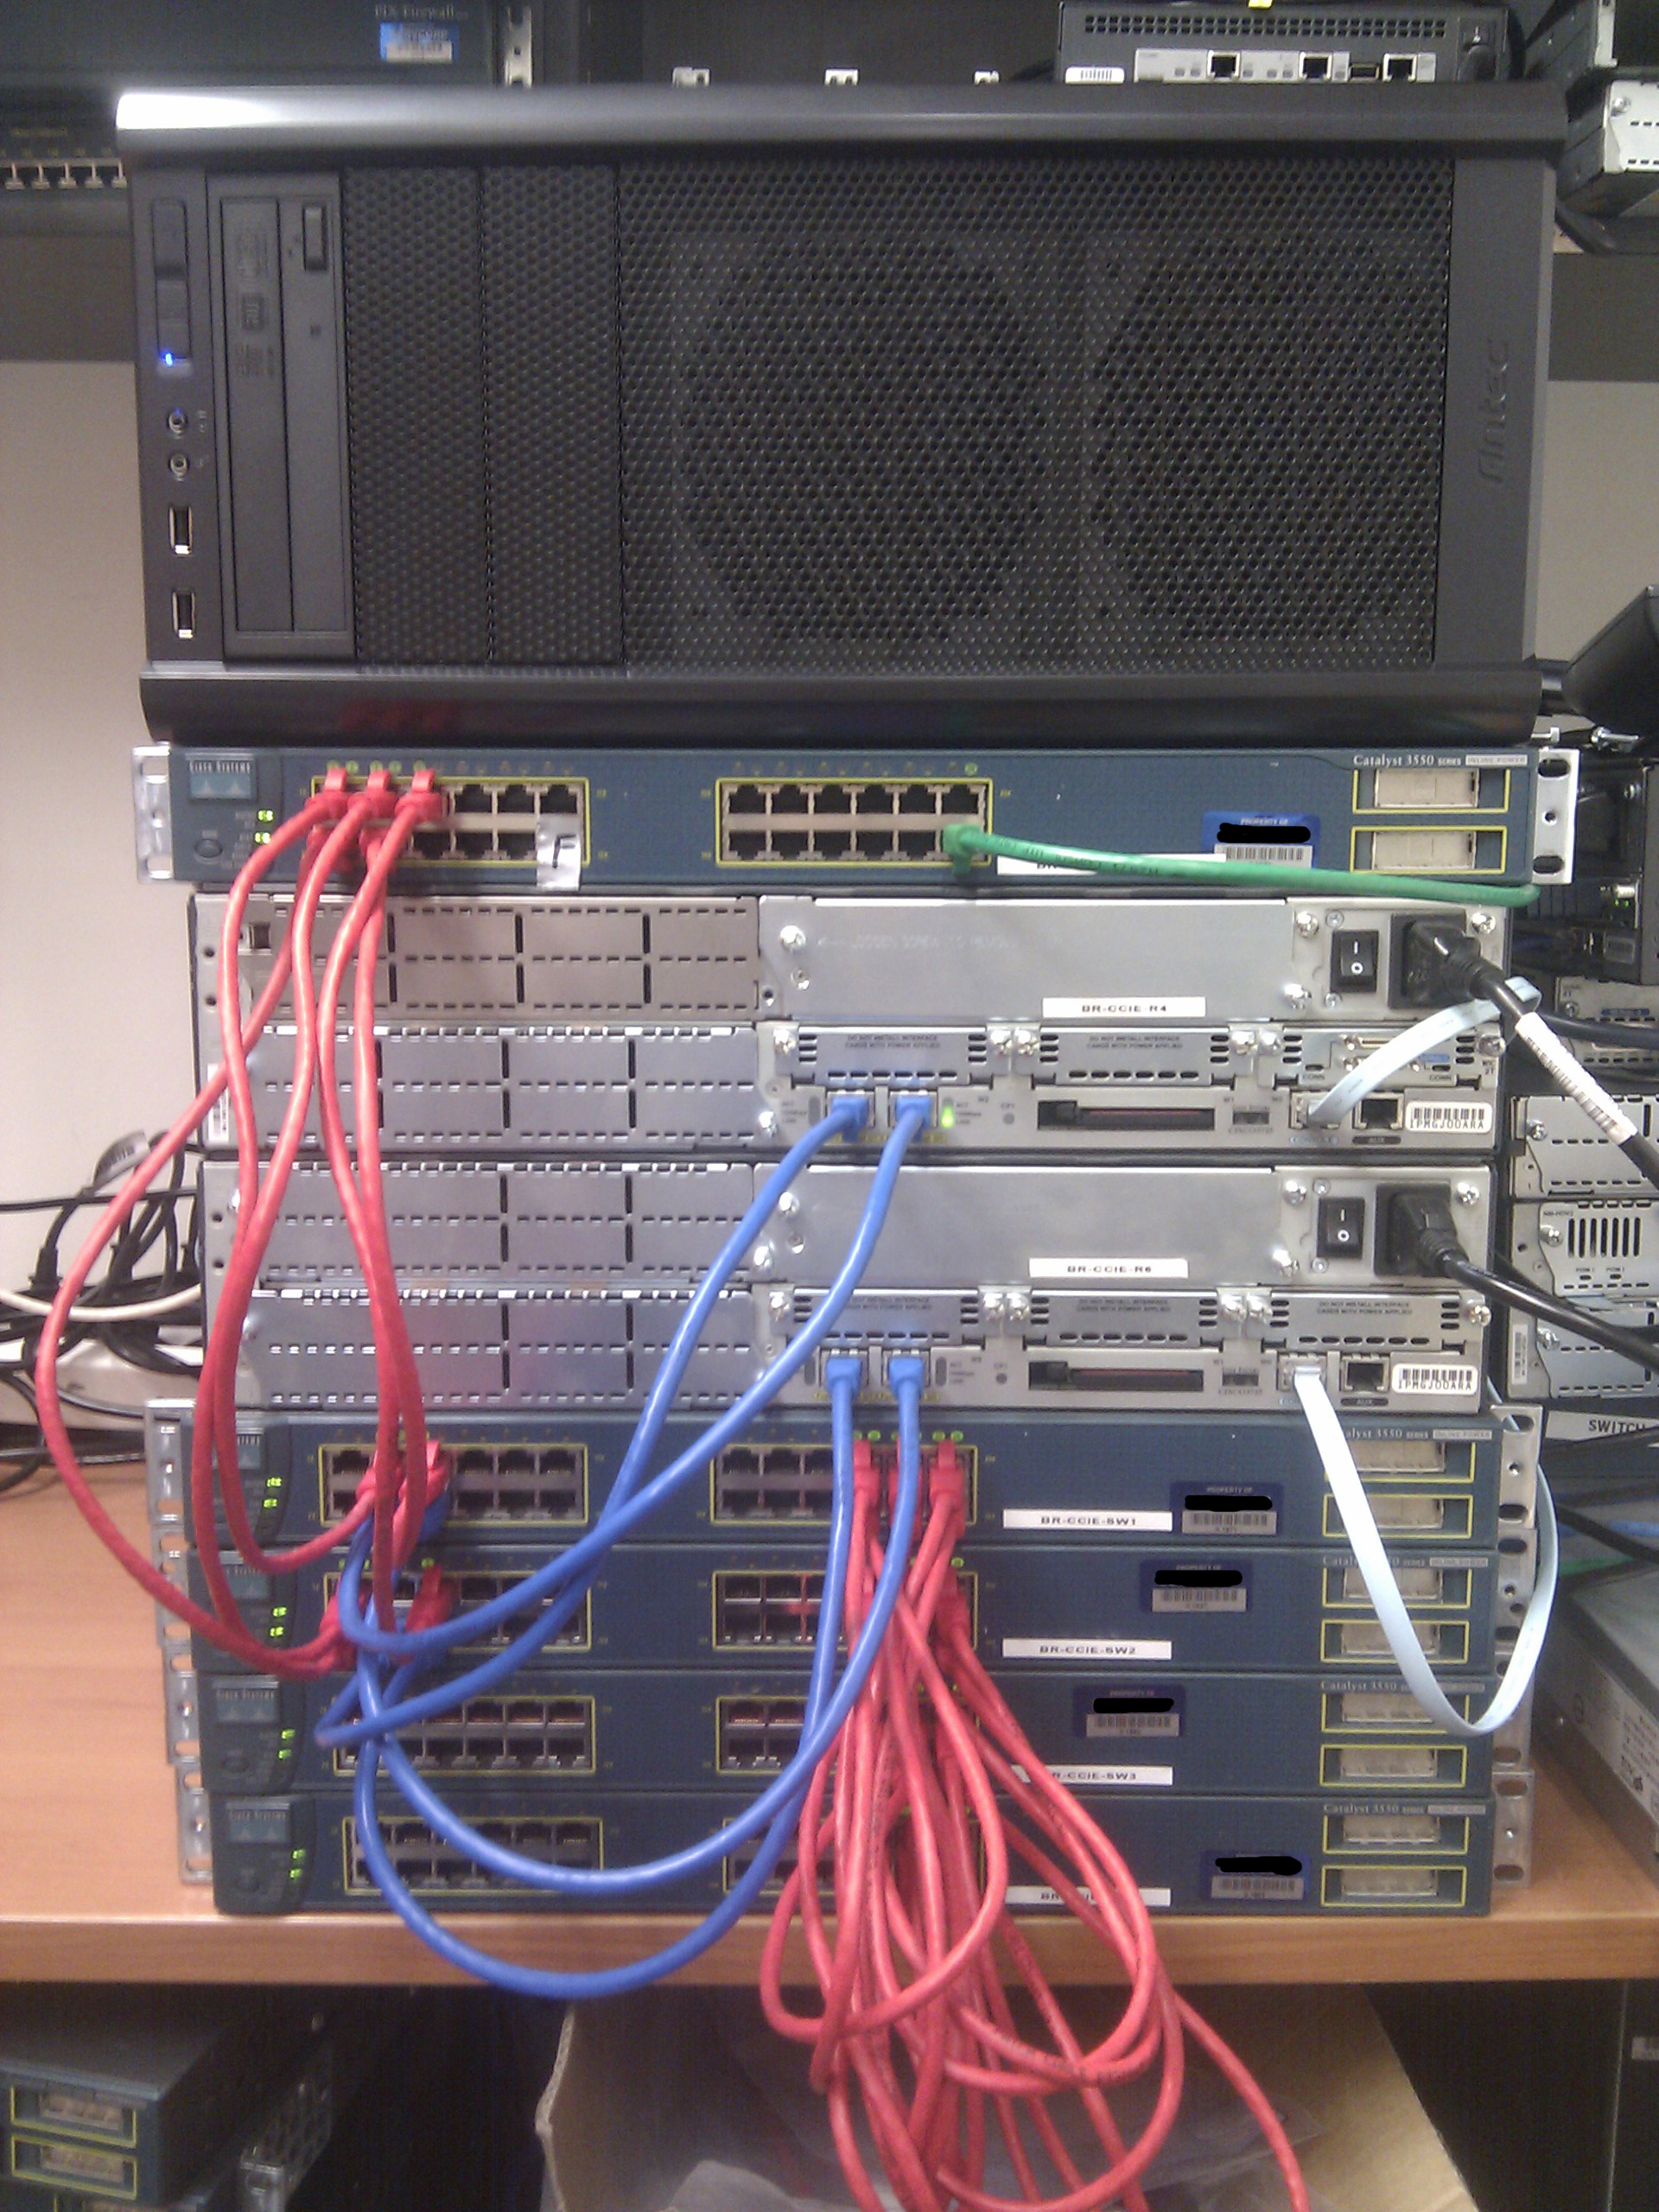

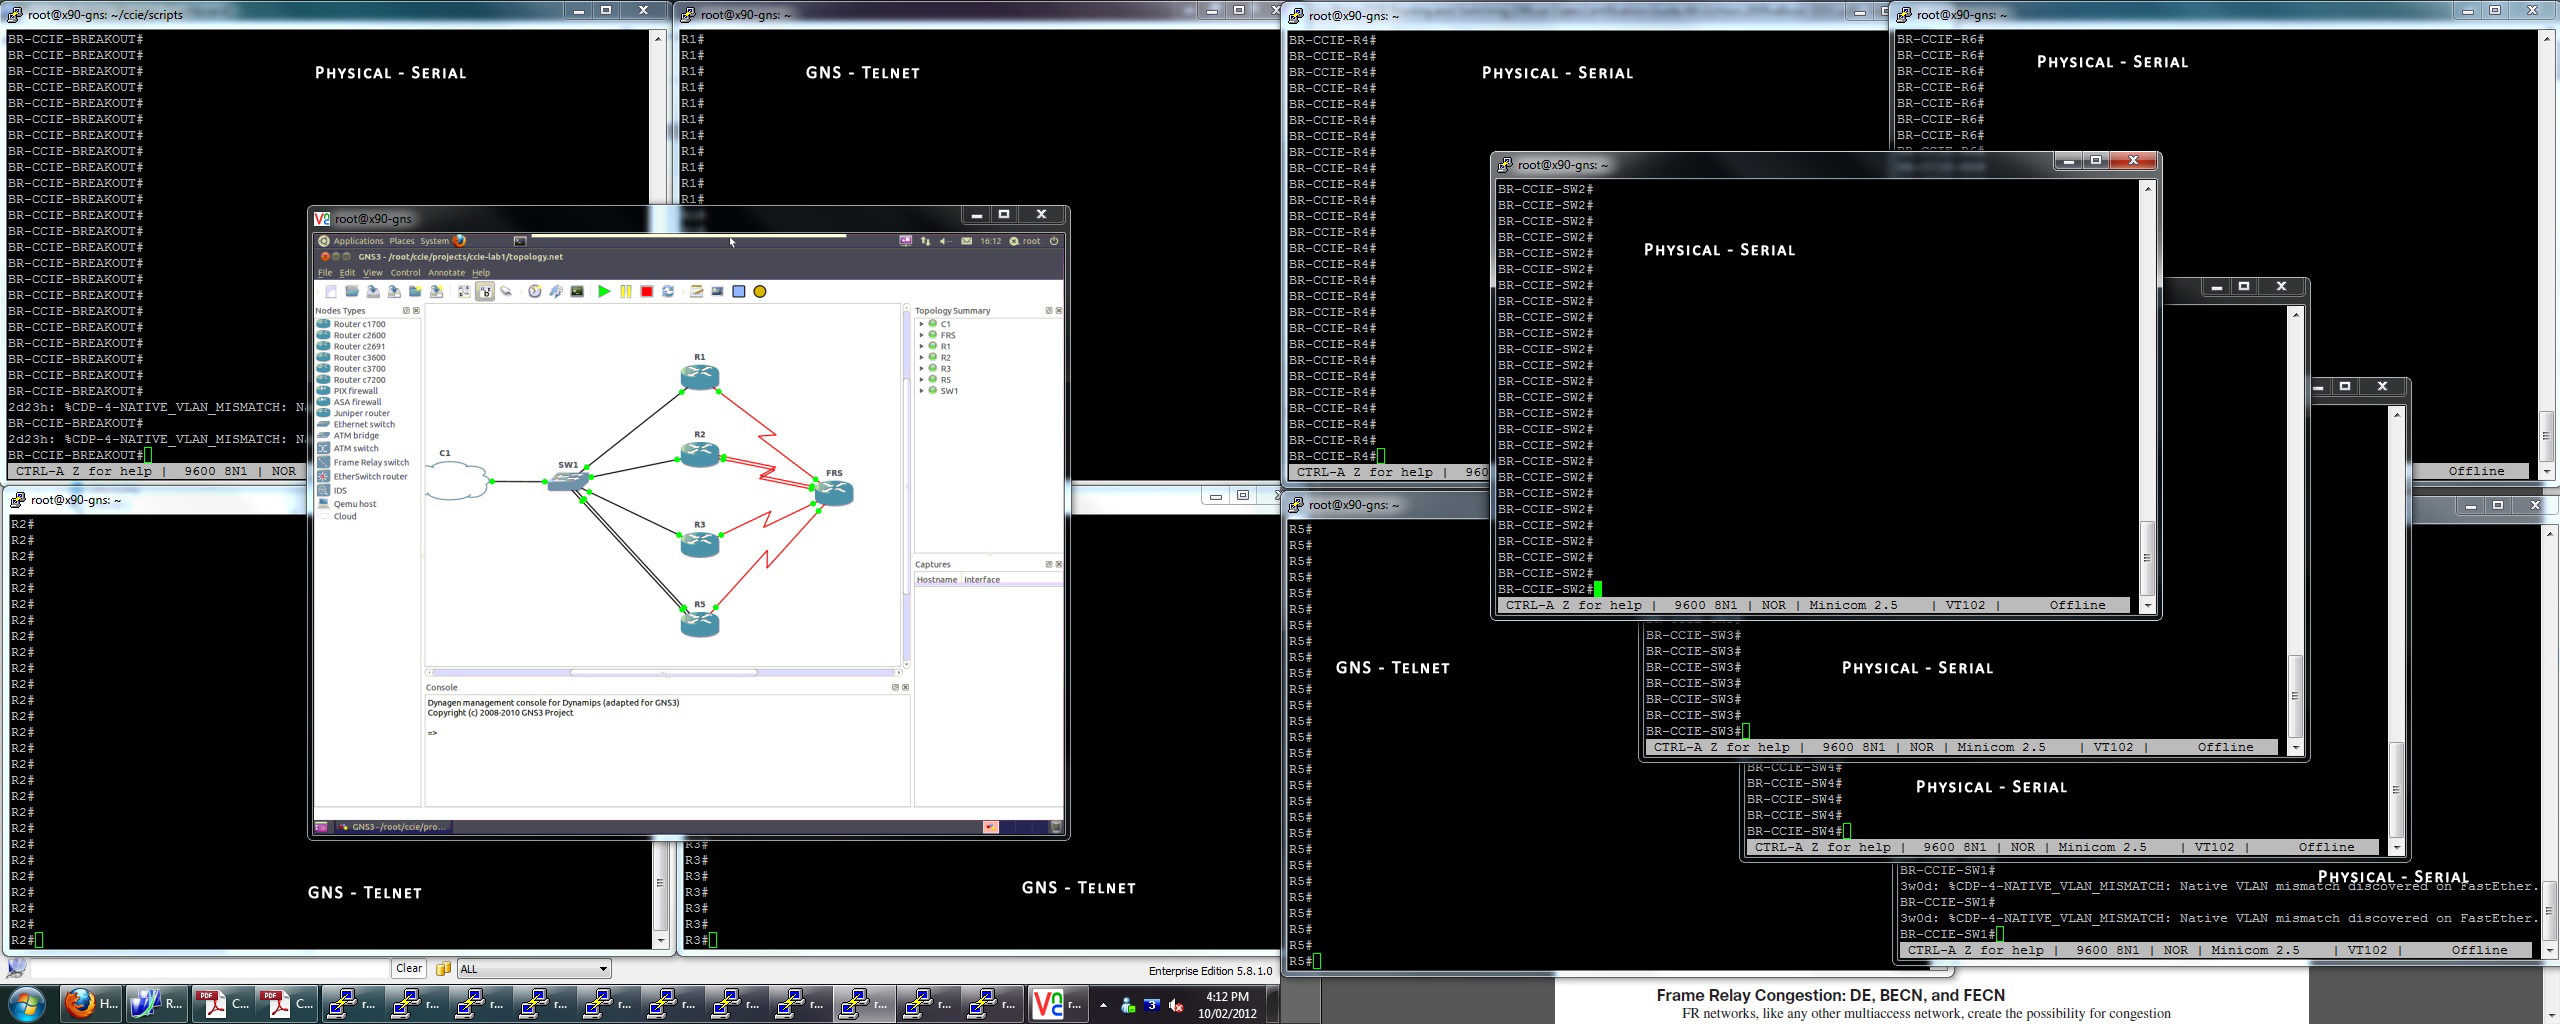
More ranting and rambling bound to come now that config can begin.