I maintain a radius server that proxies requests from publicly accessible SSH servers which, unfortunately must run on port 22.
There are over 140 SSH servers that proxy all requests through this server and due to the logging which is configured I am able to capture all failed attempts including username password and IP address. I frequently scan these logs to find the top offending IP addresses and common usernames so I can add them to a blacklist for the radius server to drop straight away.
There are many public projects that compile sources of such information, however these logs are easy for me to divulge for others to incorporate into similar lists.
I will throw some old stats of interest and work on this to become a monthly release.
October 2012
Failed Attacks: 19,969,074
November 2012
Failed Attacks: 11,335,220
December 2012
Failed Attacks: 5,277,817 <- I guess everyone went quite over the holiday period?
January 2013
Failed Attacks: 6,786,138
February 2013
Failed Attacks: 17,375,929
March 2013
Failed Attacks: 16,437,020
April 2013
Failed Attacks: 5,542,223
May 2013
Failed Attacks To Date: 3,347,659
WARNING: This will be a very long (hopefully) and comprehensive series on rolling your own security distribution from picking hardware to installation and exploitation.
NOTE: This page will be most likely edited every time a change is committed so as to keep the information up to date in the real world. If anything major changes (new version of breaking WPA/WPA2 etc a new post will most likely be made to feature the tool/method). Check the modified date on the post to find the latest updates.
As mentioned in the first part of the series, any of these steps can be completed in either a virtual or physical environment. In fact, I have done the below in both environments and everything is working as well as can be expected.
Just to re-iterate my requirements were:
– VMware Workstation/Physical install.
– Ubuntu 12.04 base.
– Alfa AWUS036H wireless adapter.
– Ability to audit wireless networks (aircrack, reaver etc).
– Ability to audit generic network devices (metasploit, openvas etc).
– Ability to audit VoIP networks (ucsniff etc) .
Therefore this guide will show you how to install and configure:
– Ubuntu 12.04 i386 (explained as a note).
– VMware tools for those inside VMware workstation.
– Patched rtl8187 drivers to fix the channel -1 issue in airodump-ng.
– Nmap.
– Kismet.
– Aircrack-ng with Wesside-ng.
– Reaver.
– Gerix Wifi Cracker.
– UCSniff.
– Metasploit.
– TeamViewer.
– Chrome.
NOTE: As mentioned, I’m installing the i386 version of 12.04. Typically I would stick with the amd64 version, however the installation notes on UCSniff mention that 64bit 12.04 is not supported. I have yet to test UCSniff under 64bit (because perhaps 1 or 2 functions fail to work?) however, just for now, I have opted for the safe option in going i386.
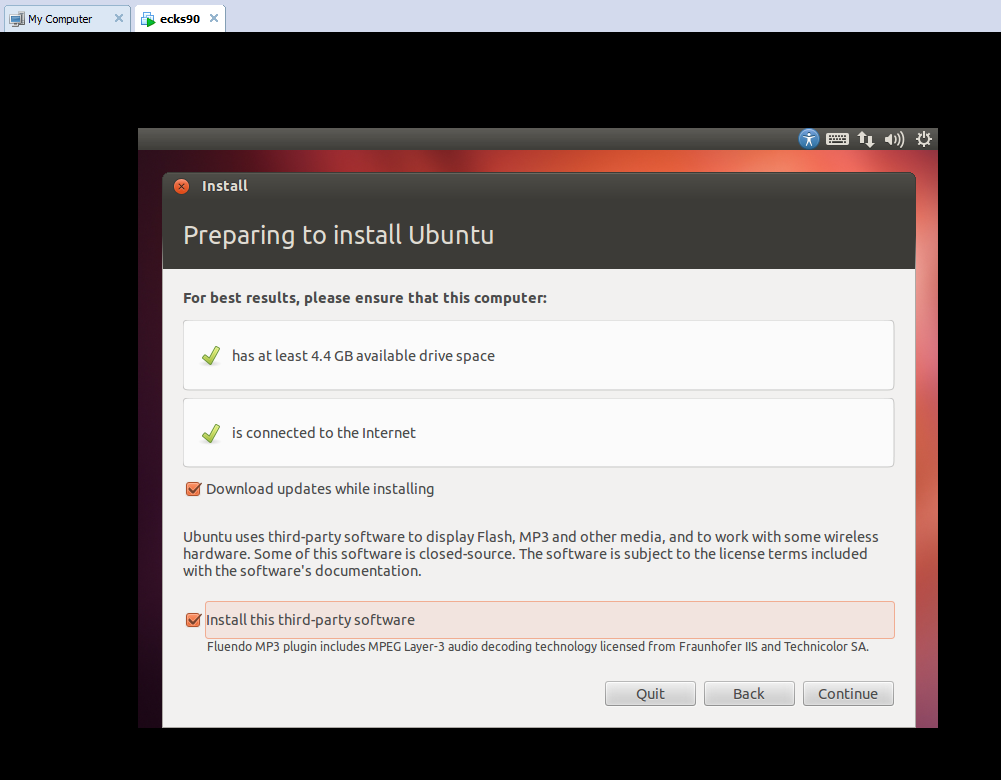
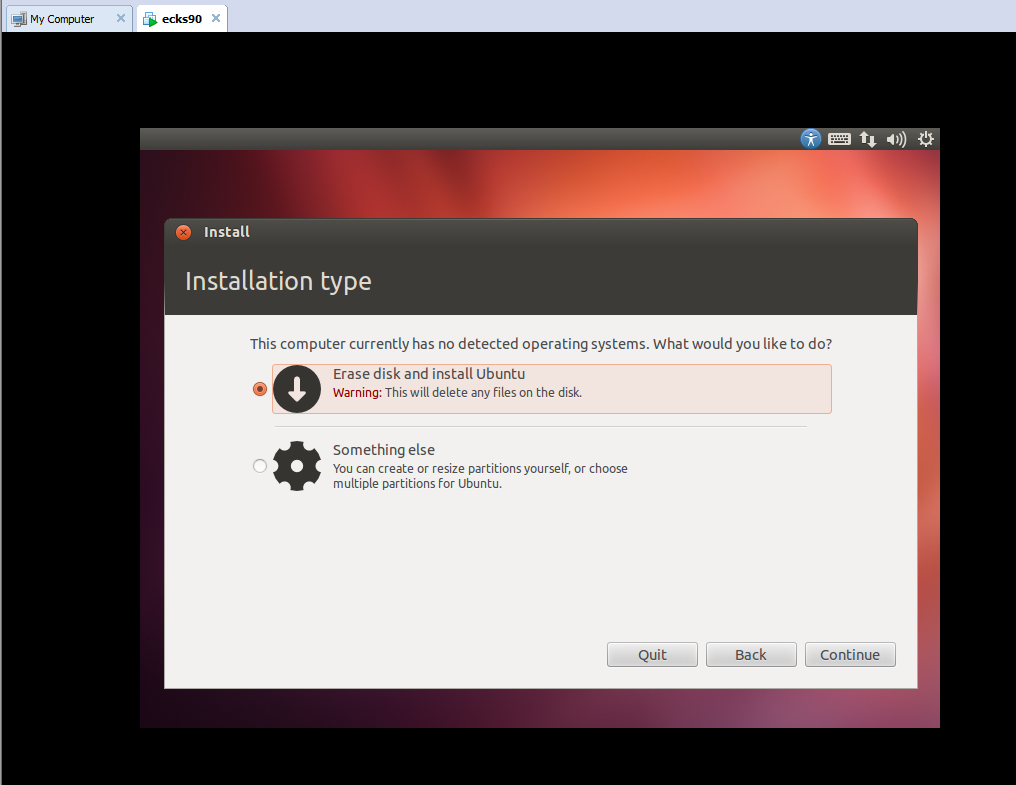
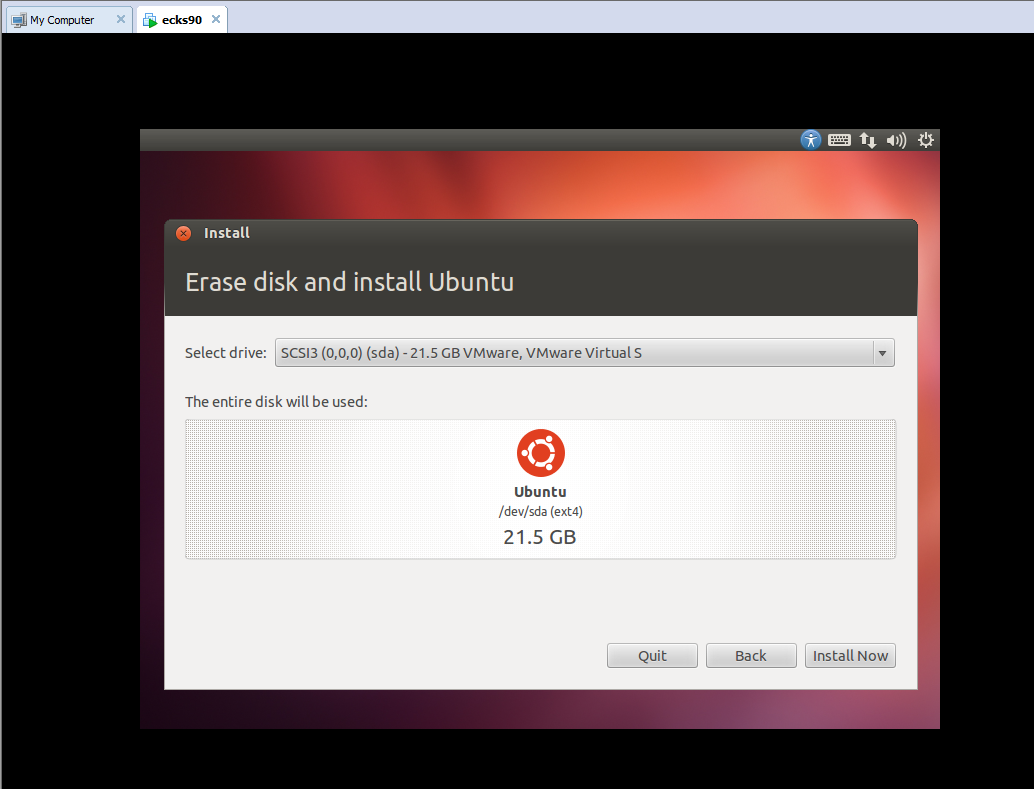
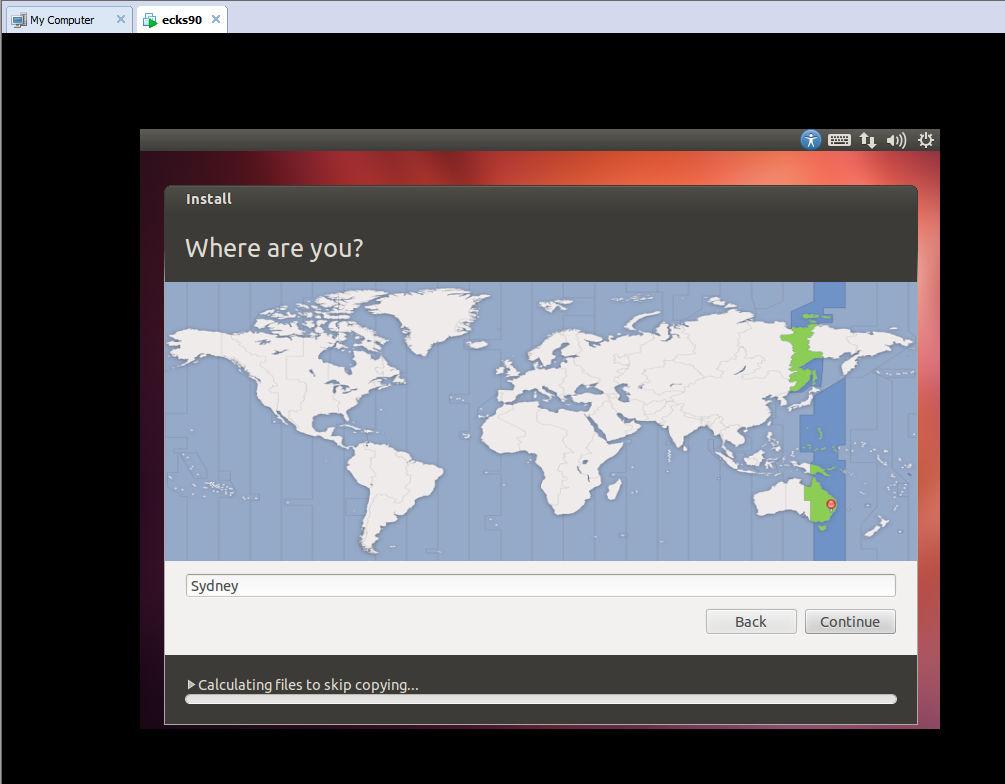
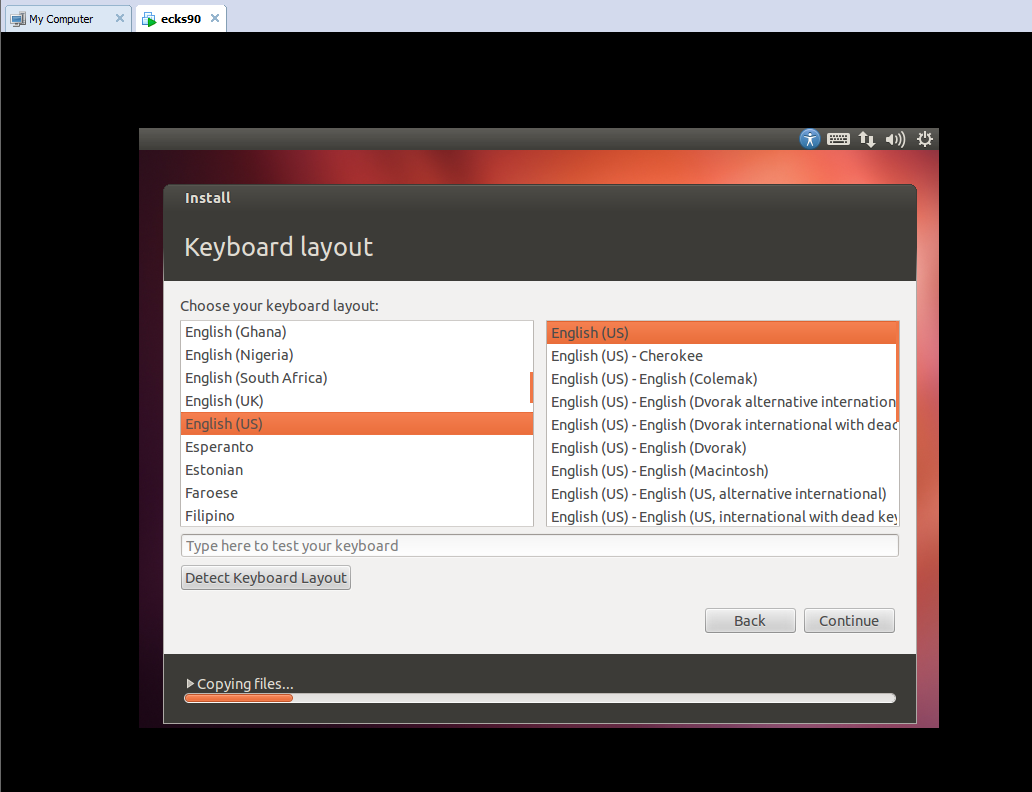
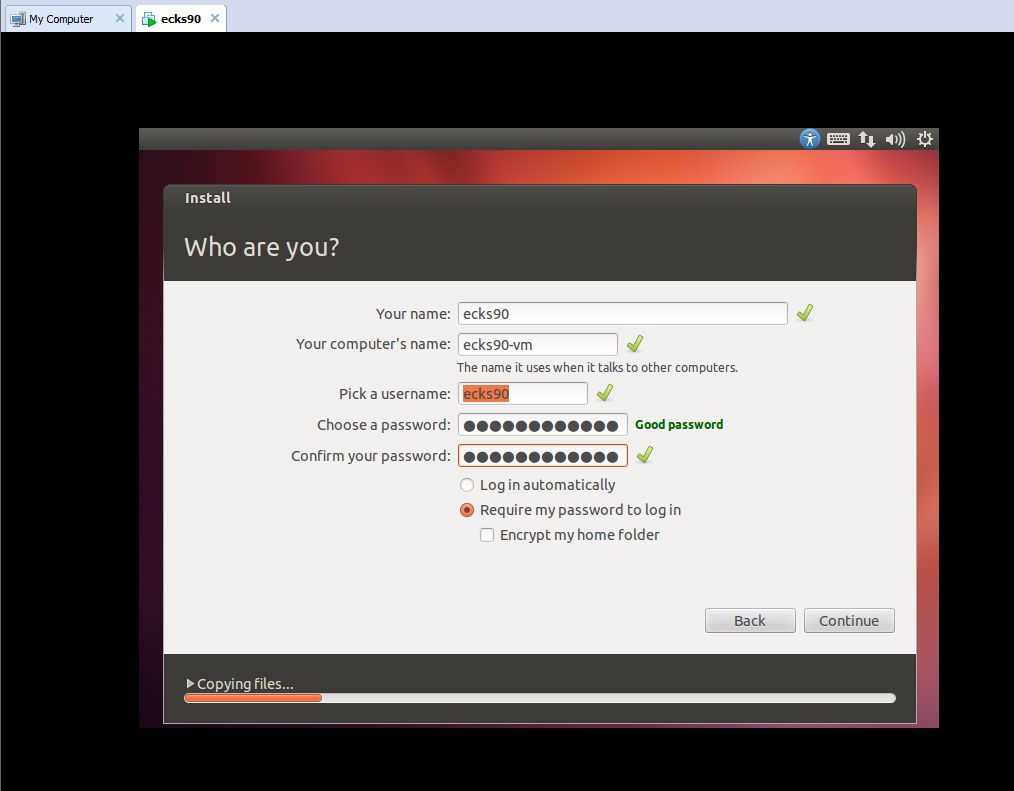
As the post defines this is how to roll your own distro, I’m going to assume that everyone know how to install Ubuntu, but just in case, I’ve thrown a screenshot for every step along the way. As the screenshots for just the OS install are self explanatory there is no text to go with these steps.
NOTE: The screenshots were taken when installing into a VM. There are slightly different steps when installing to an external HDD or a different partition. If you want to try something else, watch out for step 3.
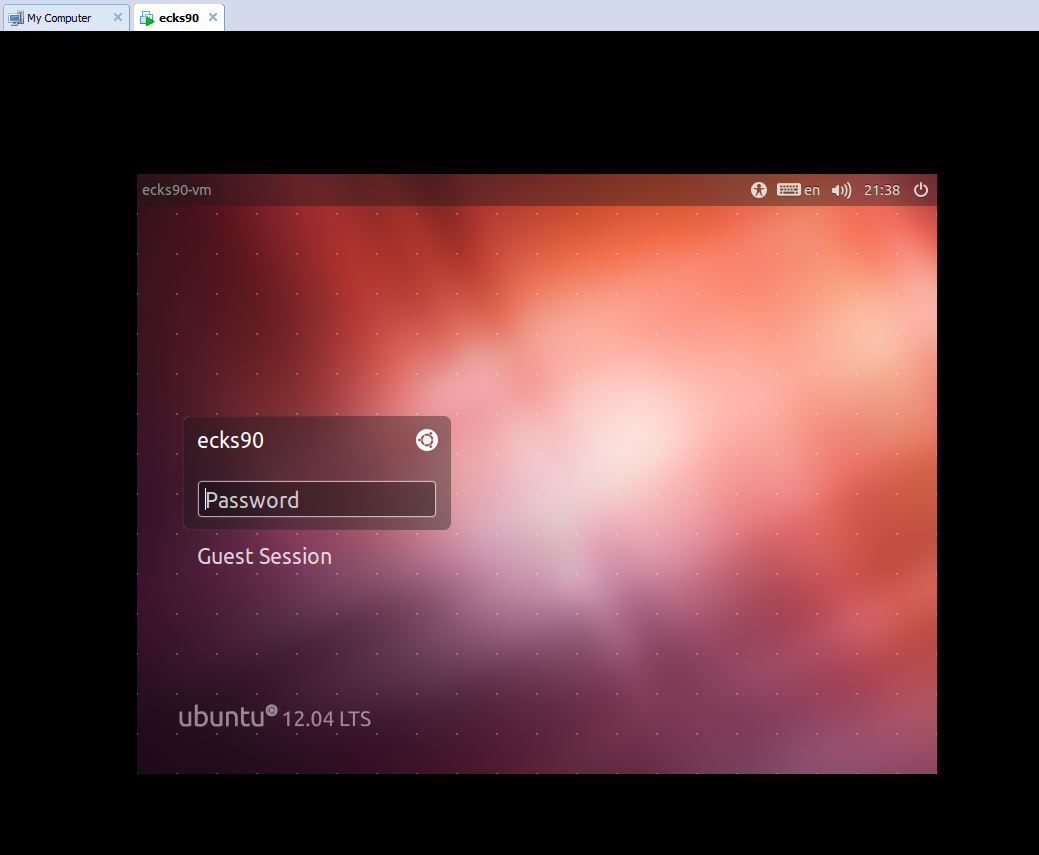
Installing Ubuntu 12.04

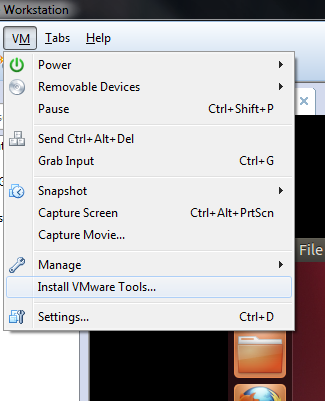
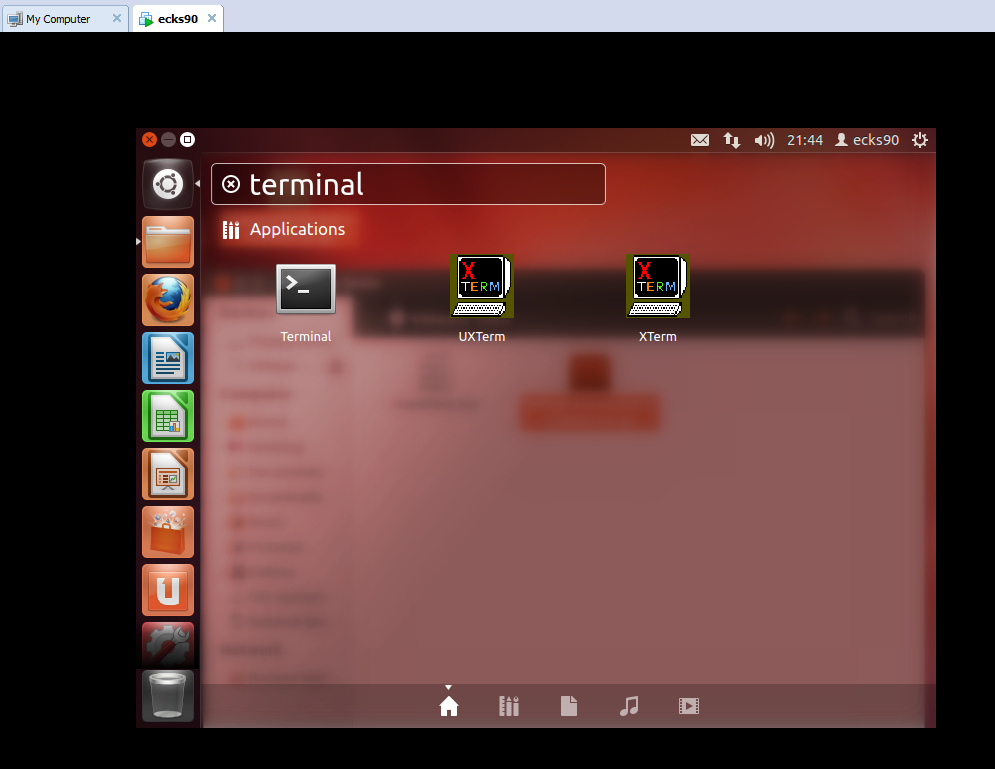
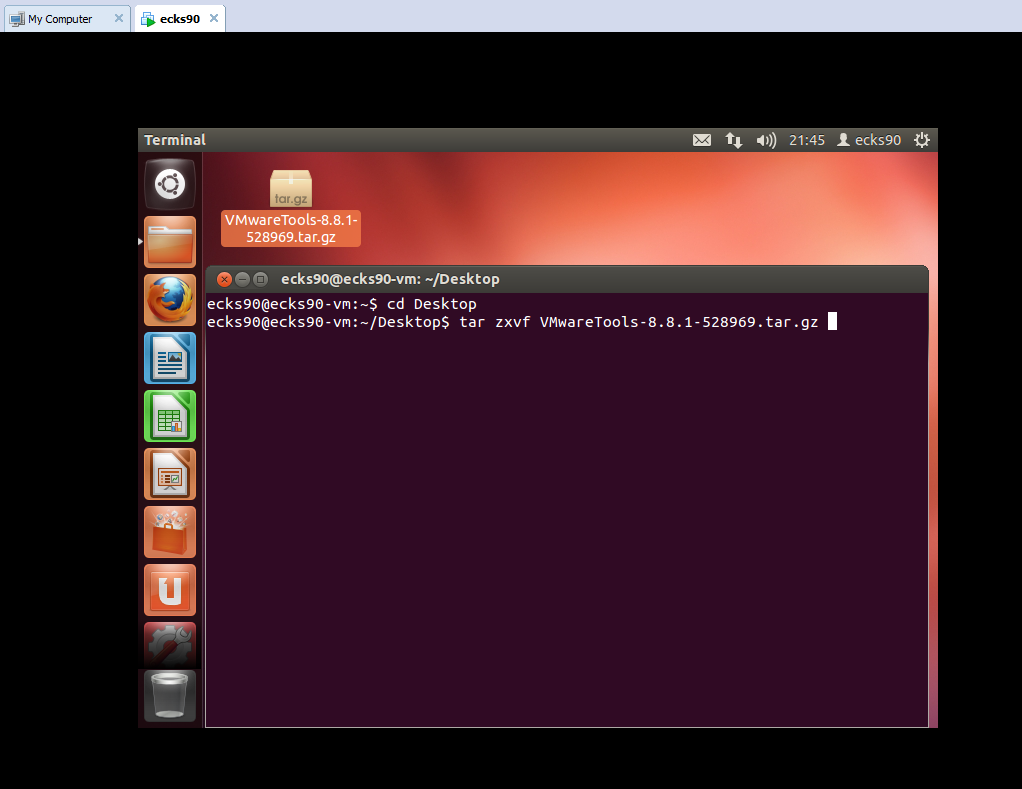
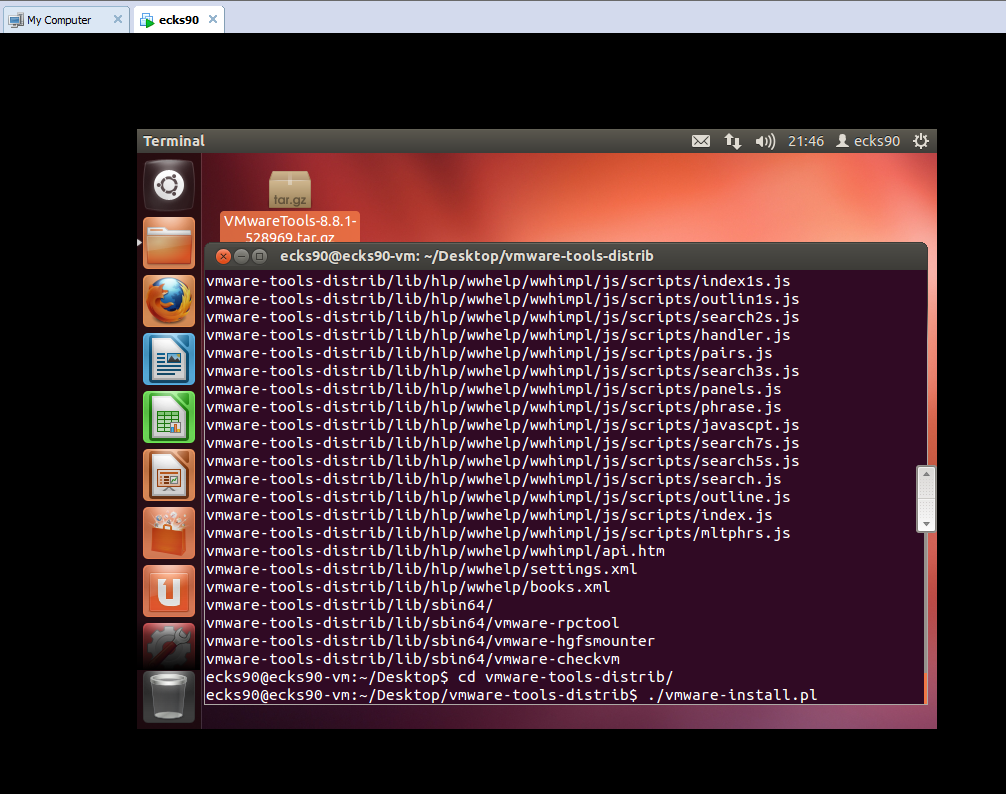
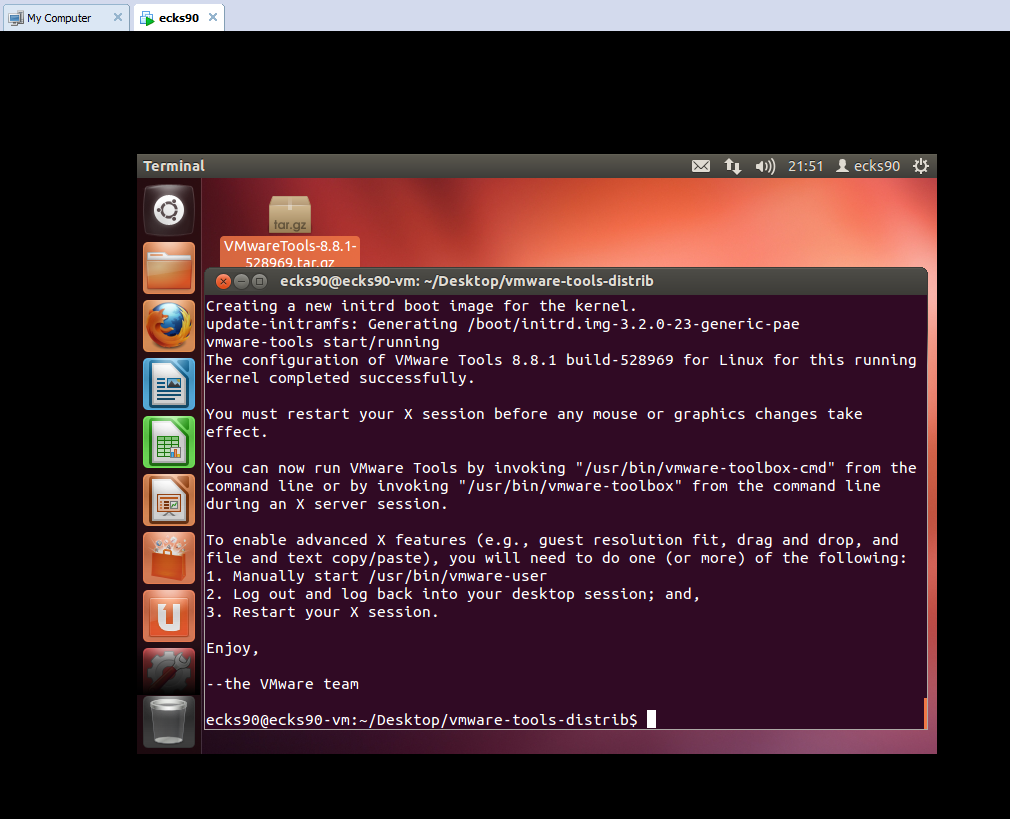
Installing VMware Tools
Obviously this is only applicable to those inside a VM.
A rough outline of steps:
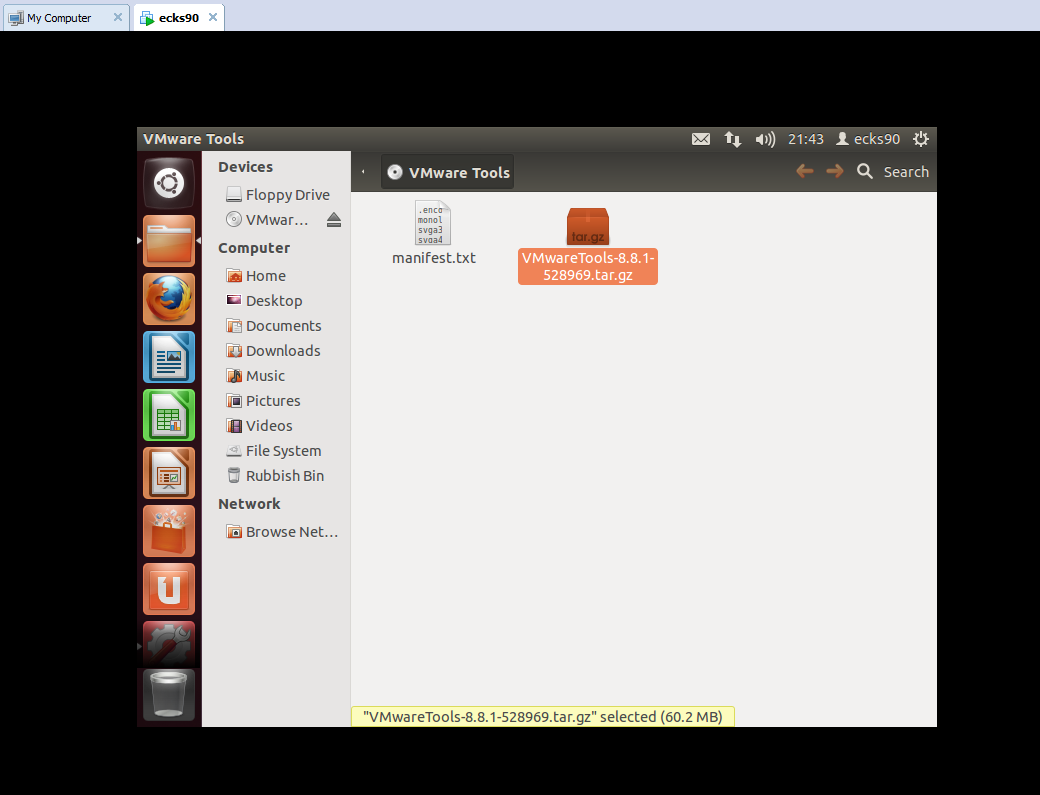
1. Mount the VMware tools .iso.
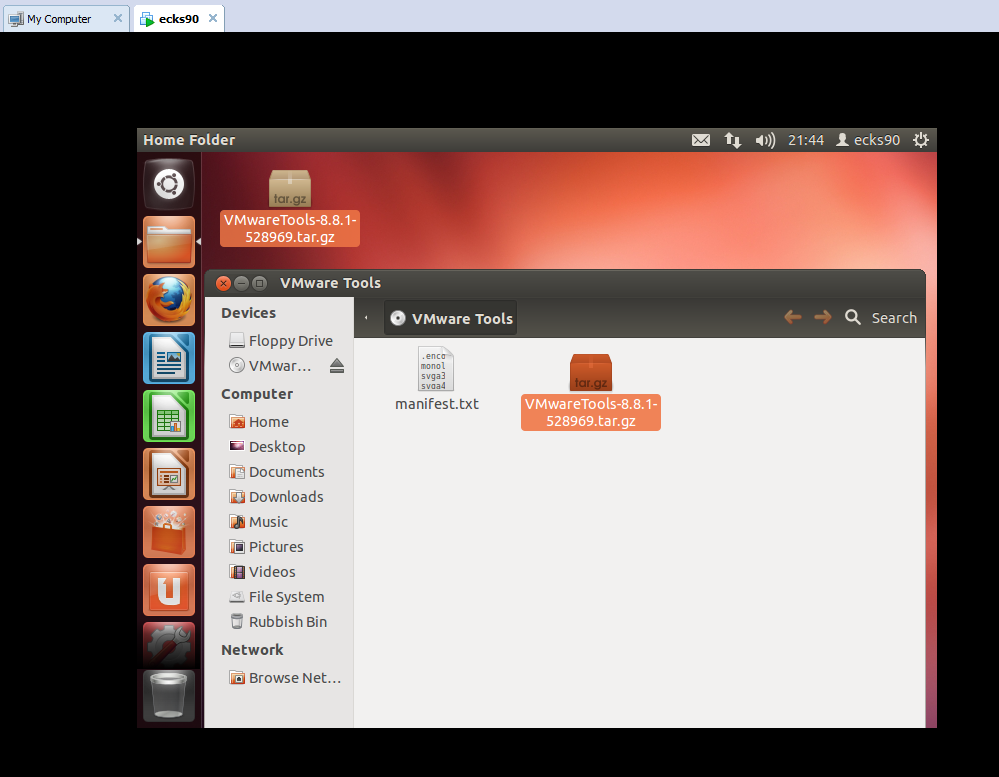
2. Copy the tar to the desktop.
3. Open a shell as root.
4. execute tar zxvf <vmwaretoolsfilename>.
5. cd <vmwaretoolsfilename>.
6. execute ./install.pl.
7. Enter on all defaults.
8. Say yes to configure.
9. Enter on all defaults.
10. Reboot the machine by executing shutdown -r now.
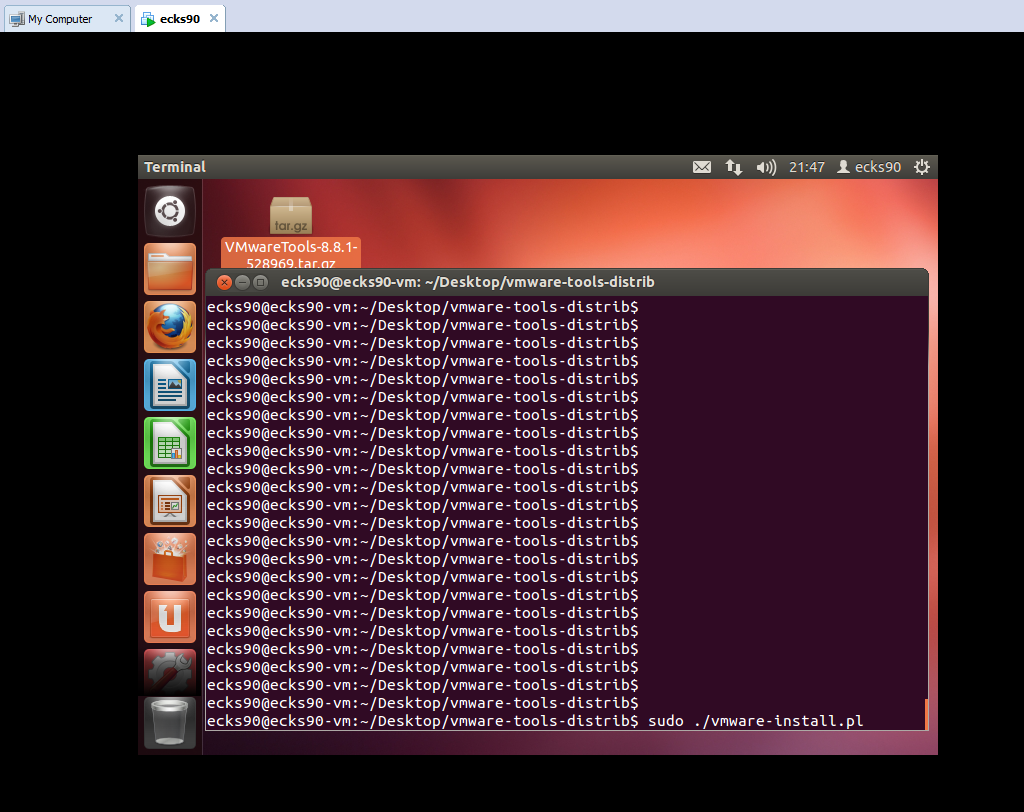
NOTE: Most of the below steps require root for installation, file editing etc. I’m going to leave out the sudo on most commands but if you run into problems, just use your head and su or sudo.
Patching The RTL8187
There is a bug in the rtl8187 drivers that are distributed with the 12.04 distribution. Injection works straight out the box, but when trying to explicitly run an airodump-ng on a particular channel, airodump complains that the channel your card is bound to is -1. Luckily there is still an old patch for this driver which fixes the issue. For anyone wanting to dig into the details you can follow the process here: http://www.aircrack-ng.org/doku.php?id=compat-wireless
Here is the process I used:
wget http://www.orbit-lab.org/kernel/compat-wireless-3-stable/v3.5/compat-wireless-3.5-rc5-1.tar.bz2
tar -jxf compat-wireless-3.5-rc5-1.tar.bz2
cd compat-wireless-3.5-rc5-1
wget http://patches.aircrack-ng.org/mac80211.compat08082009.wl_frag+ack_v1.patch
patch -p1 < mac80211.compat08082009.wl_frag+ack_v1.patch
make
make install
make wlunload
modprobe rtl8187
wget http://www.orbit-lab.org/kernel/compat-wireless-3-stable/v3.5/compat-wireless-3.5-rc5-1.tar.bz2tar -jxf compat-wireless-3.5-rc5-1.tar.bz2cd compat-wireless-3.5-rc5-1wget http://patches.aircrack-ng.org/mac80211.compat08082009.wl_frag+ack_v1.patchpatch -p1 < mac80211.compat08082009.wl_frag+ack_v1.patchmakemake installmake wlunloadmodprobe rtl8187
Nmap
The next is an easy one. Nmap just install directly from the ubuntu repository.
apt-get install nmap
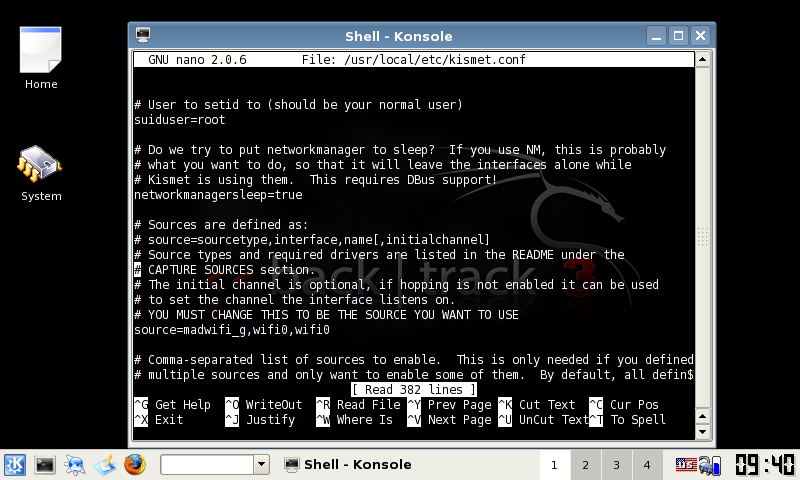
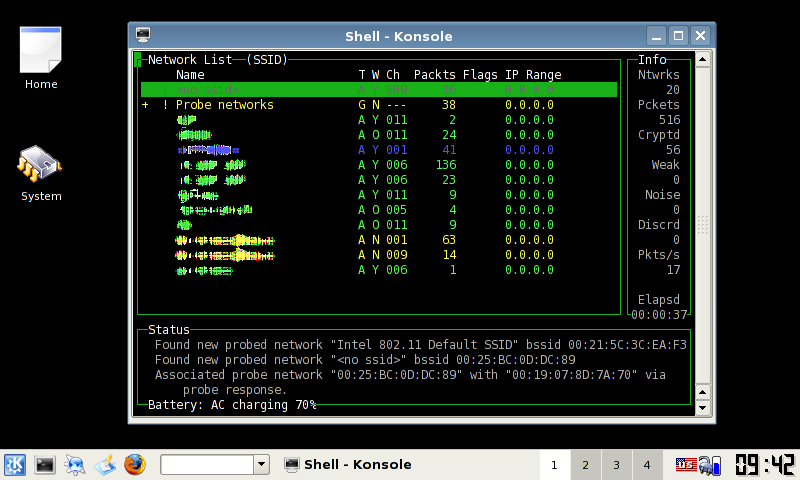
Kismet
I still love using Kismet for wireless mapping. I’m sure there are more fancy graphical tools for wireless (which I don’t know about – so please let me know about them!) but at the moment, I’m still preferring Kismet. Kismet also installs from the ubuntu repository which is nice. After installation we will edit the source interface to capture from. Obviously if you’re using a different card type or interface number adjust accordingly.
apt-get install kismet
nano /etc/kistmet/kistmet.cfg
edit line 28
source=rt8187,wlan0,wlan0
Aircrack-ng with Wesside-ng
I am still yet to review pyrit properly, but for a while now aircrack-ng has been the default standard for wireless auditing. We need to install some decencies first and then compile from source.
NOTE: I have yet to have success with wesside-ng on 12.04, however I still have hope as it has to be the easiest way to break WEP encryption. If you don’t want to try wesside (or easside for that matter) then don’t build unstable=true.
apt-get install build-essential
apt-get install libssl-dev
wget  http://download.aircrack-ng.org/aircrack-ng-1.1.tar.gz
tar zxvf aircrack-ng-1.1.tar.gz
cd aircrack-ng-1.1
nano common.mak
at line 70 replace
CFLAGS ?= -g -W -Wall -Werror -O3
with
CFLAGS ?= -g -W -Wall -O3
make
make install
airodump-ng-oui-update
make install unstable=true
make install
cp src/wesside-ng /usr/local/sbin
Reaver
Reaver is our next tool, which is an interesting vector attack on WPA2 devices. Reaver attempts to bruteforce the WPS auto-provisioning feature of the router to gain access and expose the PSK. For Reaver we will install some dependencies then compile from source. The details for this install were originally found here: http://nakedproof.blogspot.com.au/2011/12/installing-reaver-12-on-ubuntu.html
apt-get install libpcap-dev aircrack-ng sqlite3 libsqlite3-dev
Download the latest Reaver from: https://code.google.com/p/reaver-wps/downloads/list
tar zxvf
cd
cd src
./configure
make
make install
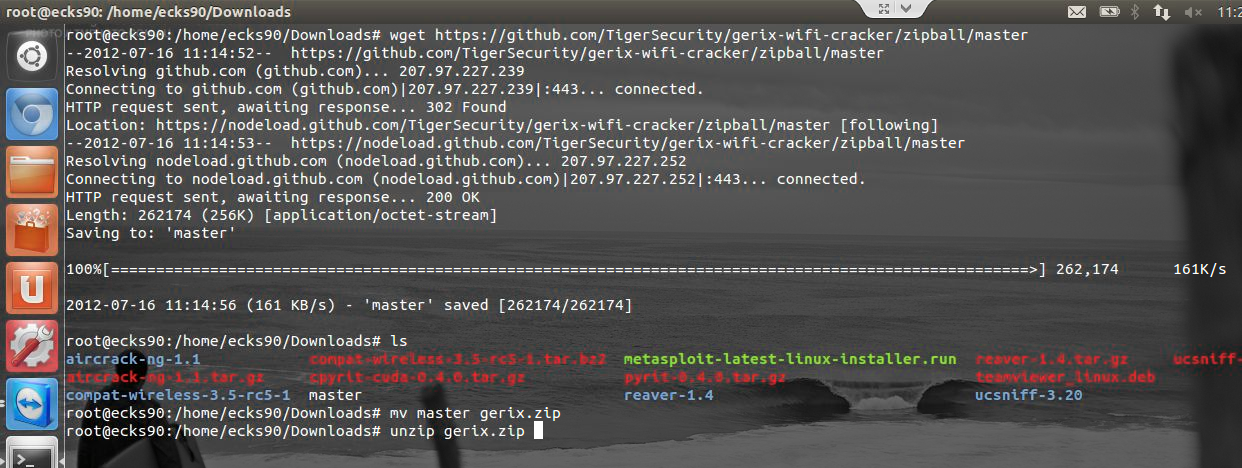
Gerix Wifi Cracker
I first stumbled across Gerix whilst in Backtrack. Gerix is neat python based tool for automating the process of aircrack/airodump commands. There is a fair bit of information on the net/youtube videos on how to use Gerix (which I have yet to nail down) but for now just having it on the system is good enough. There is a python dependency for Gerix before downloading and moving the app.
apt-get install python-qt3
wget https://github.com/TigerSecurity/gerix-wifi-cracker/zipball/master
mv master gerix.zip
unzip gerix.zip
mv  /opt/
cd /opt/
ln -s gerix.py /usr/local/sbin
UCSniff
As mentioned in my previous posts from ages ago, UCSniff is an awesome tool for testing VoIP security. It is heavily focused on the Cisco Call Manager arena, but it works on other platforms too. In recent versions, they’ve wrapped a pretty easy to use GUI around the app and have pretty good video support. As mentioned earlier, the UCSniff team mentioned that they only support UCSniff under i386, so that’s what I’m working with. As from their site, we need to install some dependencies from the ubuntu repository and then compile from source.
apt-get install zlib1g-dev liblzo2-dev libpcap0.8-dev libnet1-dev libasound2-dev libbz2-dev libx11-dev libxext-dev libfreetype6-dev vlc libvlc-dev libavformat-dev libavdevice-dev libswscale-dev libavfilter-dev libx264-dev libav-tools
apt-get remove pulseaudio
wget http://downloads.sourceforge.net/project/ucsniff/ucsniff/ucsniff-3.2%20src/ucsniff-3.20.tar.gz
tar -zxvf ucsniff-xxx.tar.gz
cd ucsniff-xxx
./configure –enable-libvlc –enable-gui
make
make install
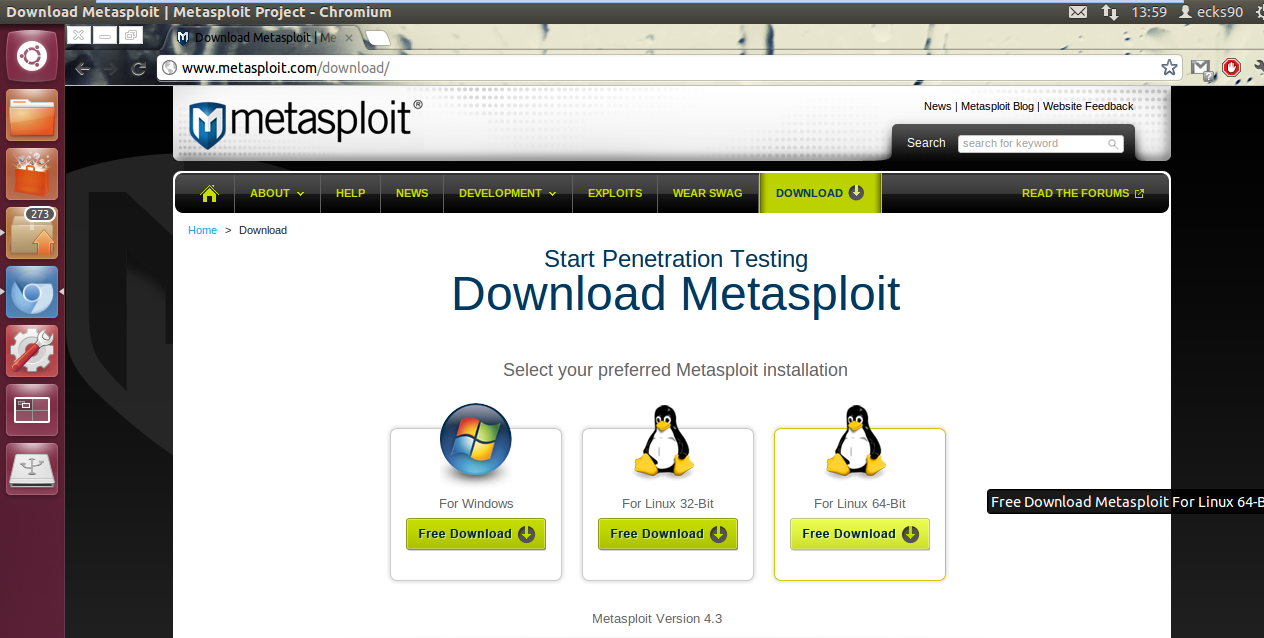
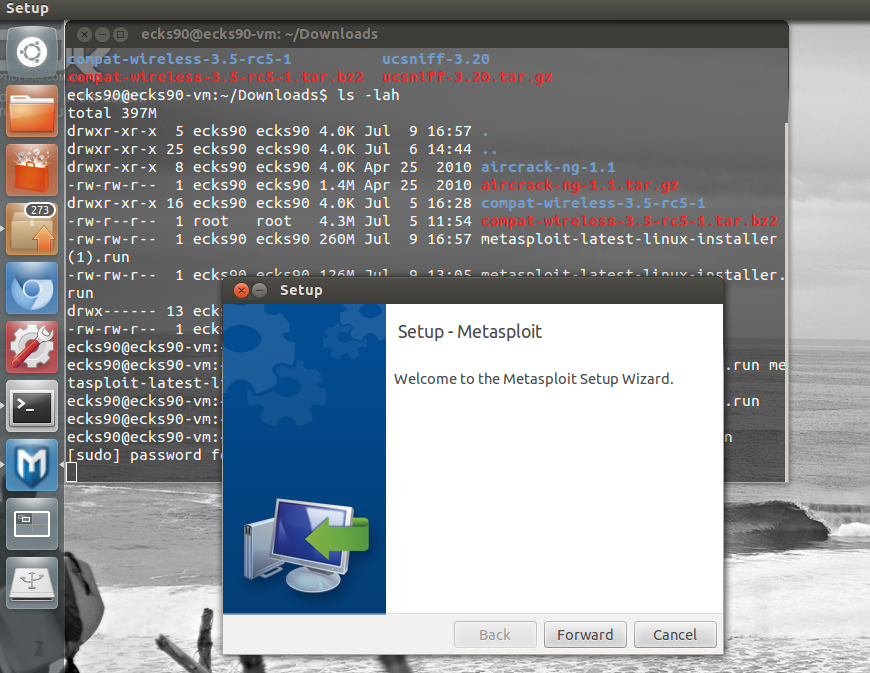
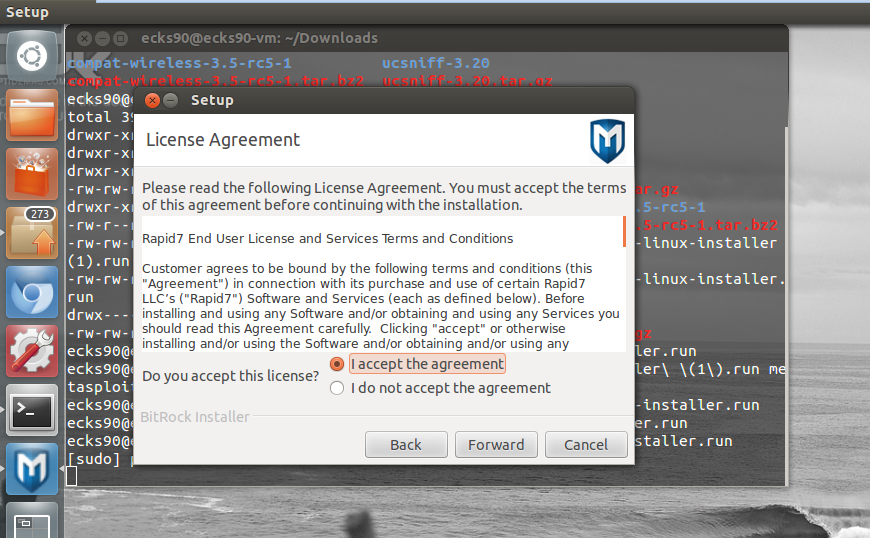
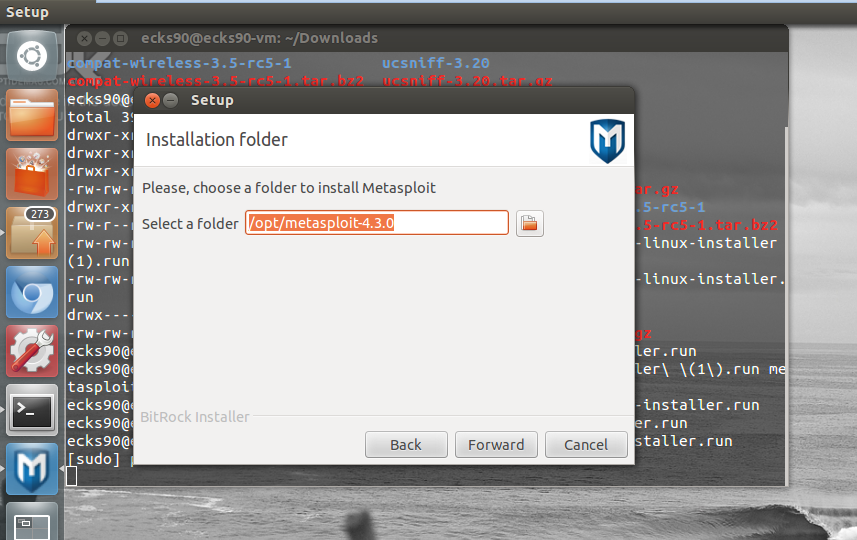
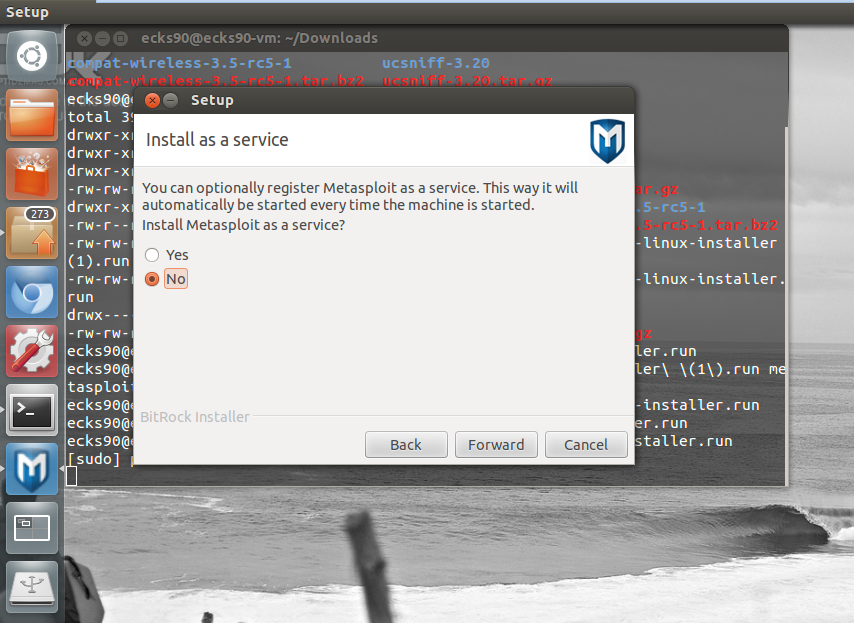
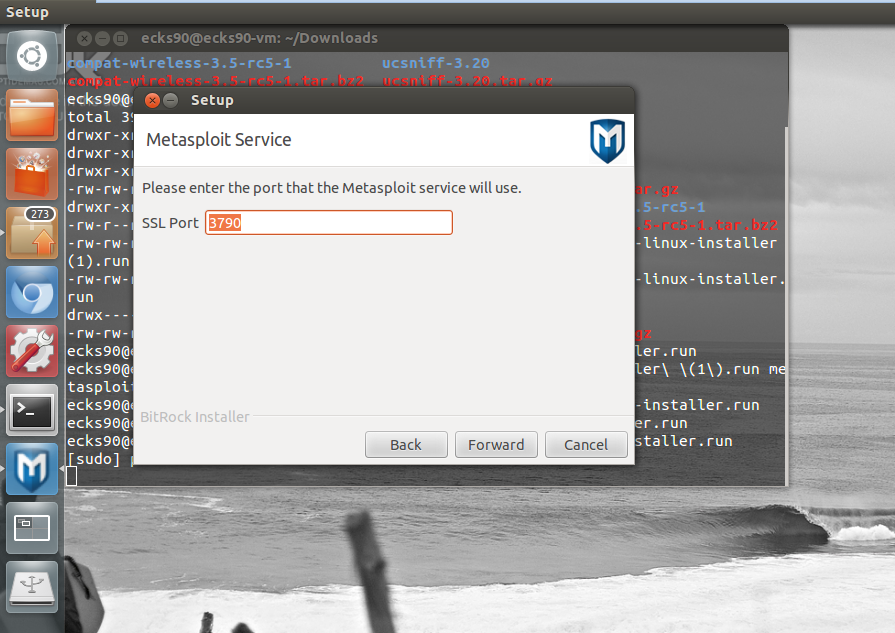
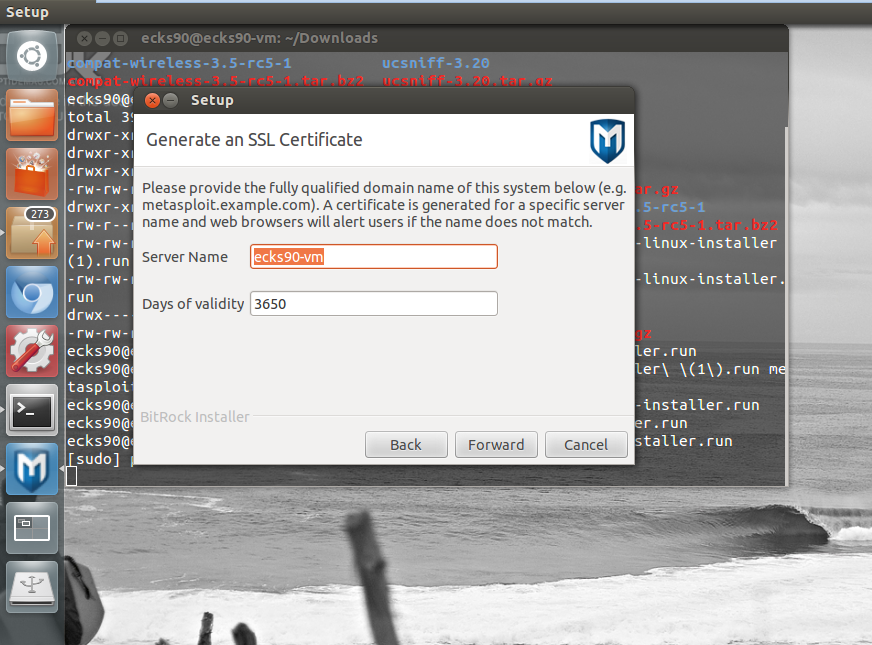
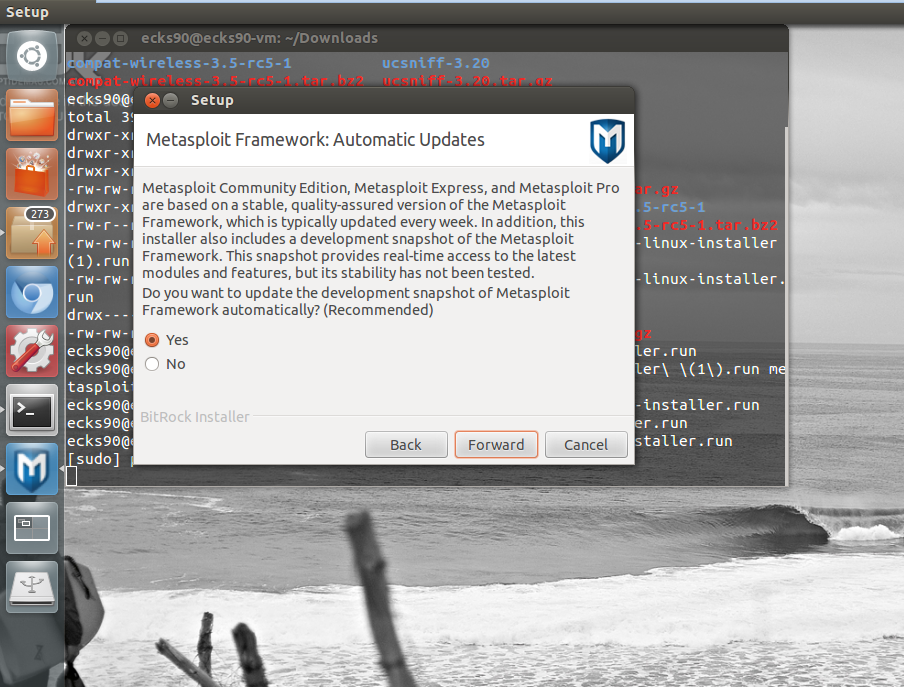
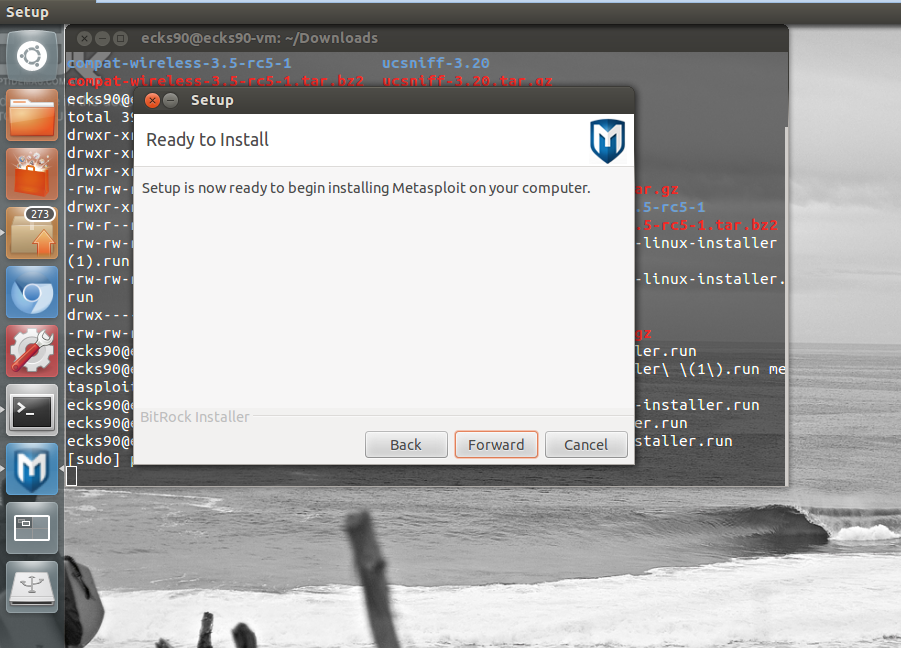
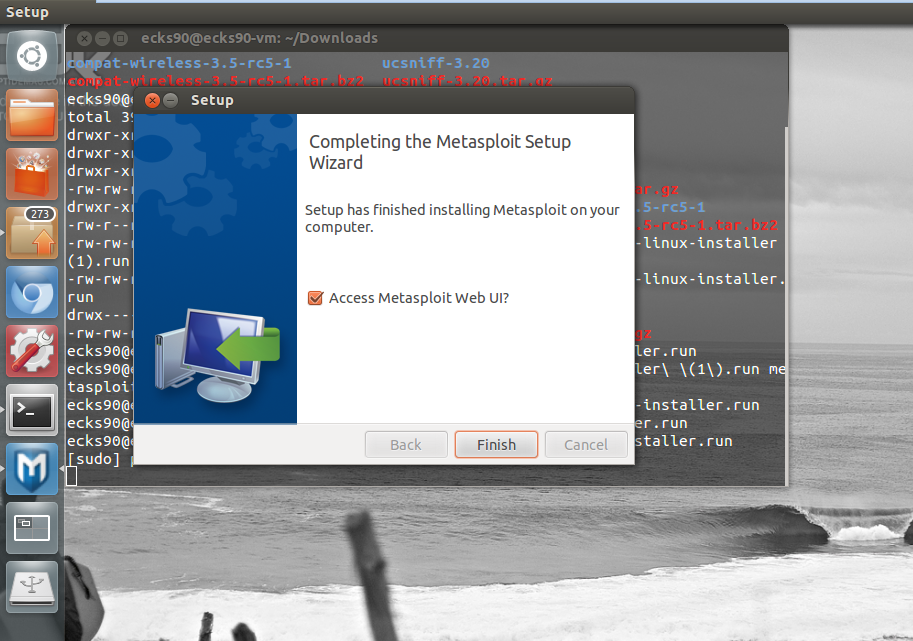
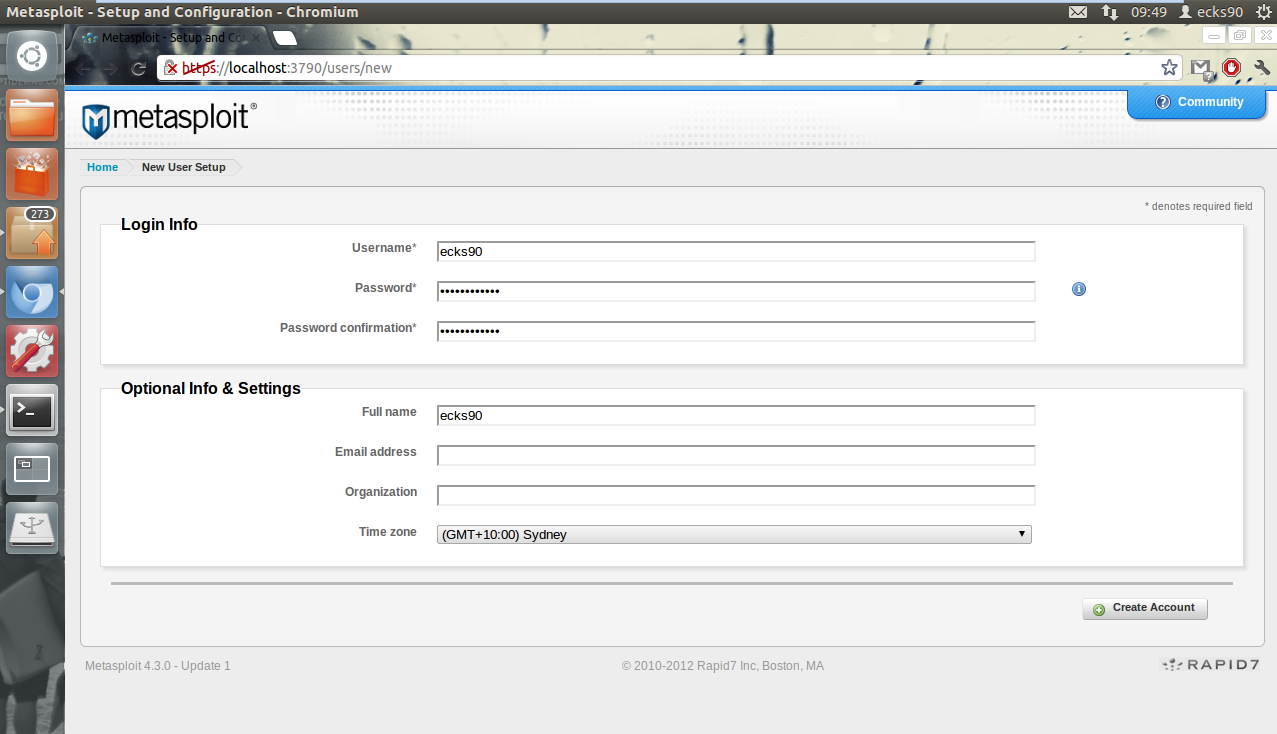
Metasploit
No security distro would be complete without Metasploit. Back in the day Metasploit was a little difficult to install, but now it’s dead simple. Nothing too hard here just download, chmod, run and do as the screenies say.
download metasploit for linux (either 32 or 64bit)
chmod 775 metasploit-latest-linux-installer.run
sudo ./metasploit-latest-linux-installer.run

TeamViewer & Chrome
Even though this is a security distro, I’m personalising it with my own apps. There’s nothing worse than being stuck in an environment waiting for something to happen with no niceties from a normal distro.
Chrome can be installed via the Ubuntu Software Centre while TeamViewer can be installed by opening the .deb that you download from their website.
Keep in mind that this page will be added to when more software is needed/discovered/remembered.
WARNING: This will be a very long (hopefully) and comprehensive series on rolling your own security distribution from picking hardware to installation and exploitation.
NOTE: This page will be most likely edited every time a change is committed so as to keep the information up to date in the real world. If anything major changes (new version of breaking WPA/WPA2 etc a new post will most likely be made to feature the tool/method). Check the modified date on the post to find the latest updates.
The reason that this has come about is I was messing with the latest Backtrack 5 R2 in a VM. I’m not sure whether it is only a problem with the prebuilt live VM distro or 5R2 as a whole, but I could not for the life of me get OpenVAS reports to export. After digging around the closest I came to solving the issue was to find that the user running OpenVAS could not write the temporary report to /tmp. In the log files I could see
/bin/bash /usr/local/share/openvas/openvasmd/global_report_formats/b993b6f5-f9fb-4e6e-9c94-dd46c00e058d/generate /tmp/openvasmd_OHKB4T/report.xml > /tmp/openvasmd_OHKB4T/report.out 2> /dev/null
When I tried to run the command from the commandline it reported “No such file or directory found”. After trying to contact OpenVAS via IRC and not getting any response, reading through multiple sites and blog posts I came to the conclusion that OpenVAS would not work under BT5 and that if I wanted it to work I would have to roll my own.
So I concluded to roll my own security distro, one that I could build how I wanted with the tools that I needed. This would also give me a good insight into the tools that are available for different exploits etc.
For anyone wanting to follow this process, these are the requirements that I was working with – and I will post the details using these requirements – so your mileage may vary depending on your requirements.
– Ubuntu 12.04 base. The BT5 apps have had good support running an Ubuntu base for the last 2 iterations and this is my distro of choice for every day use.
– VMware Workstation/Physical install.
– Alfa AWUS036H wireless adapter.
– Ability to audit wireless networks (aircrack, reaver etc).
– Ability to audit generic network devices (metasploit, openvas etc).
– Ability to audit VoIP networks (ucsniff etc) .
Any of the below processes outlined will work in either a virtual or physical environment, however, 2 things to note is that any form of wired NIC manipulation (macchanger, ucsniff, VLAN hopping etc) will NOT work in a virtual machine. Also, when trying to run aircrack-ng against a wordlist, or pyrit for CUDA based cracking is very slow and limited inside a VM. It was due to this that I explored the variables in installing the new security distro to an external drive.
External Installation Variables
Installing a distro to external harddrive is nothing new. In fact I blogged about doing a persistent install for BT4 to a 500GB USB HDD. However, my recent research at work has led me to explore other options that I would not have though about.
In a blanket statement, for Operating System installs, you want the highest number of read and write IOPS that you can get your hands on. In a nutshell, you can test for IOPS by reading and writing 4kb packets randomly to a disk. This is much different than testing sequential read/writes which most disk types are quite good at these days.
Obviously, different disk types will give you different IOPS readings. When exploring installing Cisco Call Manager to a SAN, Cisco advised us that the SAN must support 100 IOPS per operating system you wanted to host. Obviously in a SAN using 15K SAS disks the IOPS will be in the thousands but this was good starting point for me.
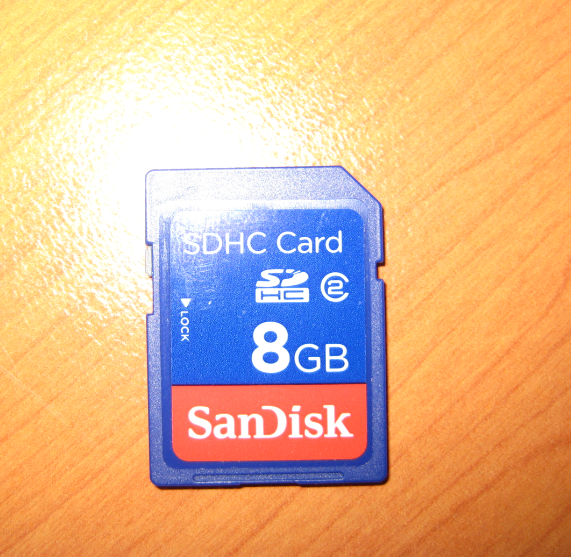
I started off by wanting to test a SD card, USB thumbdrive, USB harddrive and a SATA attached 2.5″ drive. Obviously anyone will undoubtedly say that the SATA drive will be the best option. True. However, I didn’t have the luxury of re-partitioning my internal disk.
I fired up HDTune to test the disks that I had on hand. As a warning, different disk types, manufacturers and individual disks will give you different mileage so don’t take this as gospel.
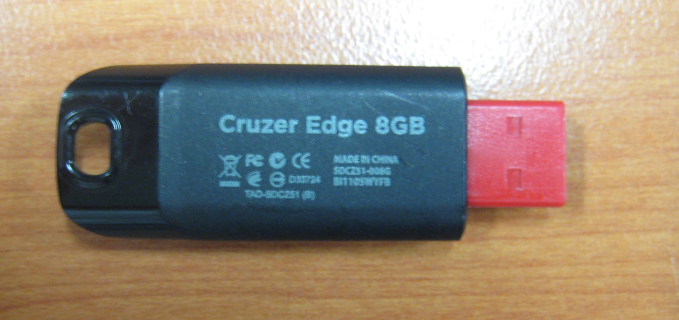
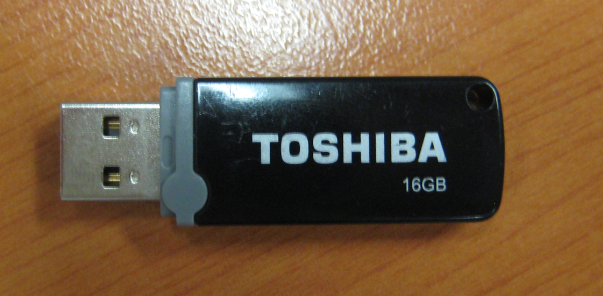
I have posted a photo of each device that I remembered to, so that anyone can match up the results if they have the same drive. The first screenshot shows sequential read time and drive access time. The second screenshot show sequential read/write times and 4k read/write IOPS.
USB – Toshiba TransMemory 1GB
USB – SanDiskCruzer Edge 8GB
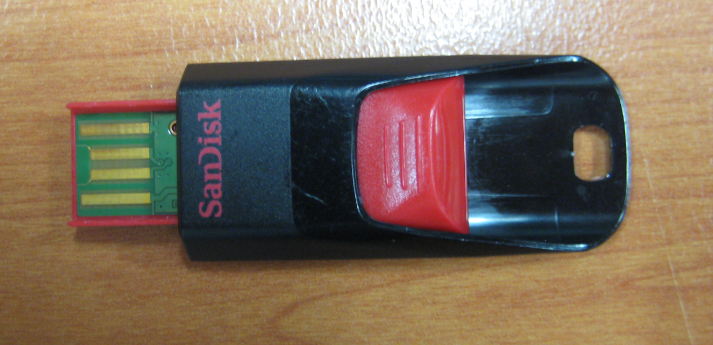
NOTE: I would love to do this test again, perhaps on a brand new Cruzer. The IOPS far outweigh any others that I tested, so I’m not sure whether this is an anomaly or not.
USB – Toshiba USB Drv 16GB
SD – Sandisk Class 2 SDHC Card
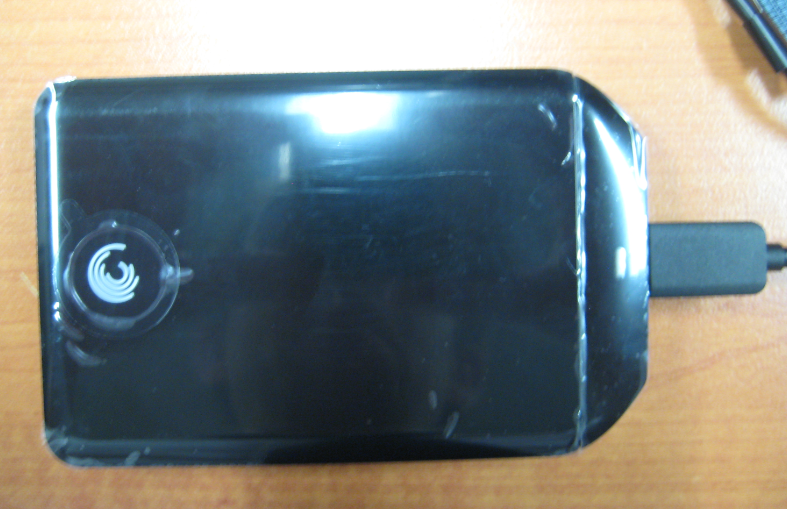
USBHDD – Seagate Portable USB2 500GB
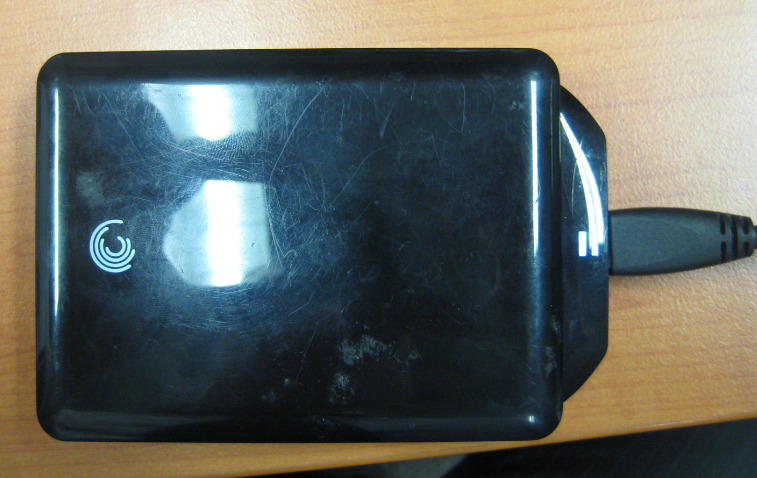
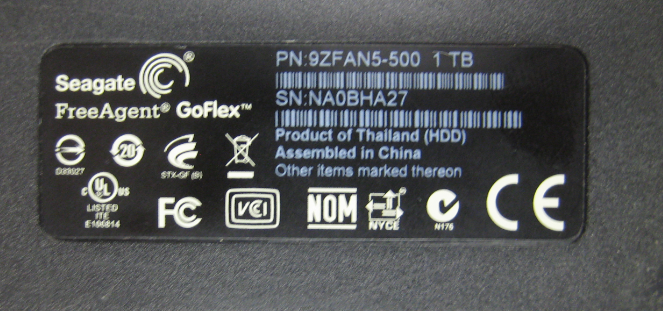
USBHDD – Seagate FreeAgent GoFlex USB3 500GB

USB HDD – Seagate FreeAgent GoFlex USB3 1TB
SATA HDD – Western Digital WD3200BEVT-22ZCT 320GB
From these tests you will notice that:
– Sequential read for all the drives are actually quite good.
– The old, cheap USB thumbdrives had quite poor sequential write, but I’m sure newer drives would be much better.
– Any flash based memory has excellent access speeds
– Most flash based memory has excellent 4kb read speeds creating a high IOPS read rate.
– Most flash based memory has absolutely shit 4kb write speeds creating very a low IOPS write rate.
– External USB harddrives are “ok” at everything.
– Internal SATA or any physically attached disks are where you want to be at.
The option that I opted for was to use the 500GB USB3 Seagate GoFlex HDD. Mainly because IOPS and sequential read/writes are quite OK, I have enough storage space to hold rainbow tables (unlike small USB thumbdrives), it was relatively cheap, and I’m a sucker for the GoFlex interface.
Wireless NIC’s
Unfortunately, I do not have much information on the wireless NIC front. A while ago I opted to buy the Alfa AWUS036H 1000Mw. Anyone who does some sort of research on the backtrack forums etc will pick up that the Alfa cards are highly powerful and capable of injection. There are newer cards available like the AWUS036NH 2000Mw, but I have not tried these, nor know whether they are capable of injection as they use newer RTL chipsets.
The Running System
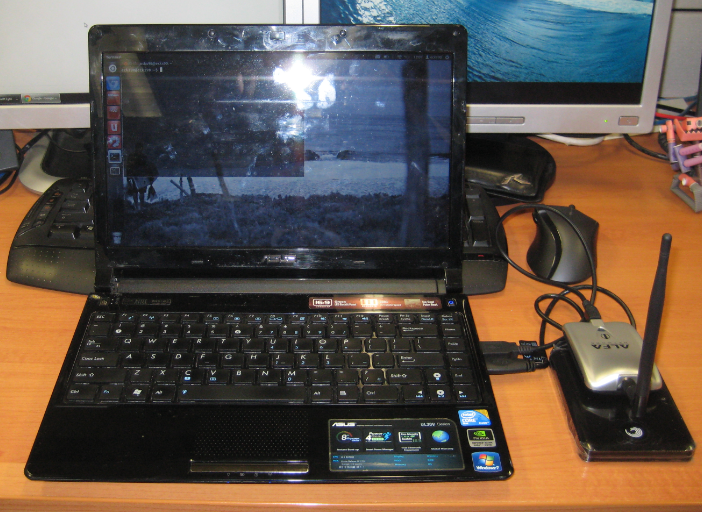
I finally managed to purchase a new lappy the other day to replace my too small eee 701.
I considered all of the 13″ ulv models from where I’m from and the VT definitely stood out as the best value for money. Considering it has a dual core supporting vt-x extensions and 4bg of RAM I thought it would be great to run Backtrack 4 in a VM.
When I got everything installed and configured, I ran up my Alfa AWUS036H wireless USB adapter but started seeing some issues with it running under VM. There were certain circumstances in which the adapter would freeze and require a replug to fix, and then when it worked got poor performance with packet injection.
So I decided to do a proper HDD install of BT4. For this I have a 500gb external Seagate HDD that I bought for BT4 to hold some rainbow tabled on.
I ran into heaps of problems using the install.sh script from bt to install to a local harddisk. I kept receiving grub error 2 errors regardless of what I did and where I installed it to. After trying to sort through manually installing grub I kept getting grub error 15’s.
I trolled through massive amounts of forum posts trying to get the thing to work but everything I tried failed. Finally though I stumbled across a post on the Backtrack forums about setting up BT4PF to HDD referencing the Backtrack perfect install doco.
Regardless of it being written for BT4PF everything worked perfectly and I now have BT4 running on my external usb hdd on my ul30vt. Heres the details about how its done and the original thread for reference:
Perfect install: http://www.offensive-security.com/documentation/bt4install.pdf
Create new partitions
root@bt:~# fdisk /dev/sdb <-- NOTE this was the device node of my external usb hdd and it may be different for yours.
The number of cylinders for this disk is set to 1044.
There is nothing wrong with that, but this is larger than 1024,
and could in certain setups cause problems with:
1) software that runs at boot time (e.g., old versions of LILO)
2) booting and partitioning software from other OSs
(e.g., DOS FDISK, OS/2 FDISK)
Command (m for help): n
Command action
e extended
p primary partition (1-4)
p
Partition number (1-4): 1
First cylinder (1-1044, default 1):
Using default value 1
Last cylinder, +cylinders or +size{K,M,G} (1-1044, default 1044): +128M <-- NOTE: I had issues with partition size and space at 128mb, currently mine is running at +1G for future kernels etc.
Command (m for help): n
Command action
e extended
p primary partition (1-4)
p
Partition number (1-4): 2
First cylinder (10-1044, default 10):
Using default value 10
Last cylinder, +cylinders or +size{K,M,G} (10-1044, default 1044): +1024M <-- NOTE: this is the size of your swap space, seeing as I have 4GB of RAM, to make it easy I set the swap at +10G.
Command (m for help): n
Command action
e extended
p primary partition (1-4)
p
Partition number (1-4): 3
First cylinder (142-1044, default 142):
Using default value 142
Last cylinder, +cylinders or +size{K,M,G} (142-1044, default 1044): <-- NOTE: the default is the remainder of the disk and should have sufficient size for all the OS and BT files + any extra files you want to keep.
Using default value 1044
Command (m for help): t
Partition number (1-4): 2
Hex code (type L to list codes): 82
Changed system type of partition 2 to 82 (Linux swap / Solaris)
Command (m for help): a
Partition number (1-4): 1
Command (m for help): w
The partition table has been altered!
Calling ioctl() to re-read partition table.
Syncing disks.
root@bt:~#
Format Partitions
 NOTE: the /dev/sdb device node was for my external usb hdd and may be different to yours.
root@bt:~# mke2fs /dev/sdb1
root@bt:~# mkswap /dev/sdb2
root@bt:~# swapon /dev/sdb2
root@bt:~# mkreiserfs /dev/sdb3
Mount and copy files
root@bt:~# mkdir /mnt/bt4
root@bt:~# mount /dev/sda3 /mnt/bt4/
root@bt:~# mkdir /mnt/bt4/boot
root@bt:~# mount /dev/sda1 /mnt/bt4/boot
root@bt:~# cp --preserve -R /{bin,home,pentest,root,usr,boot,etc,lib,opt,sbin,var} /mnt/bt4/
root@bt:~# mkdir /mnt/bt4/{dev,mnt,tmp,proc,sys}
root@bt:~# mount -t proc proc /mnt/bt4/proc/
root@bt:~# mount -o bind /dev /mnt/bt4/dev/
Copy the splash screen
root@bt:~# cd /media/cdrom0/boot
root@bt:~# cp --preserve -R {bootsplash,vmlinuz,initrd.gz} /mnt/bt4/boot/
Configure GRUB
root@bt:~# chroot /mnt/bt4/ /bin/bash

root@bt:~# nano /boot/grub/menu.lst
timeout 5 #The number of seconds GRUB should wait before booting an OS
default 0 #The entry which should be booted by default
fallback 1 #The entry which should be booted in the event of the first one failing

splashimage=(hd0,0)/grub/bt4.xpm.gz

# This is an example of using a separate partition for /boot
title              BT4
root              (hd0,0)				# Boot Partition
kernel            /vmlinuz root=/dev/sda3 rw vga=0x317
initrd            /initrd.gz

root@bt:~# grub
grub> find /grub/stage1
    (hd1,0) <-- NOTE: this was the return by GRUB for my external usb hdd and may be different for yours. Same as the following commands.
grub> root (hd1,0)
grub> setup (hd1)
grub> quit

Original thread: http://backtrack-linux.org/forums/old-backtrack-4-howto/20281.htm
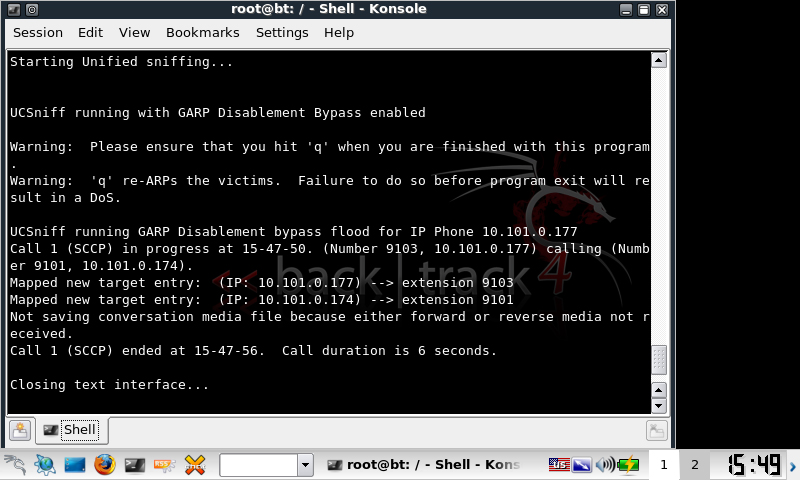
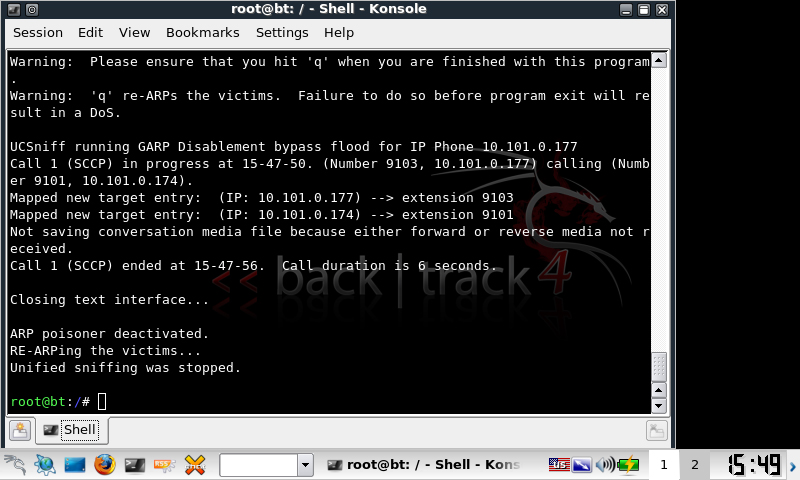
After playing with UCSniff 3.0 detailing from my last entry, i still got the error:
Not saving conversation media file because either forward or reverse media not received.
This caused ucsniff to only generate a forward wave file.
I looked around for a solution, but it was already built into ucsniff.
One of the problems with this new UCSniff feature is that it is ineffective against intercepting any Skinny messages from the phone to the network. This is because the IP Phone ARPs for its remote IP gateway when it boots up and registers for the first time, and any subsequent spoofed ARP packets are ineffective.
All we have to do is run:
ucsniff -i eth0.20 --tftpm -T -D
One thing that I observed was that –tftpm would only be correctly applied in targeted mode. Even though we can target using the ettercap options /x/ // it still wouldnt work.
When it works properly it will show:
Receiving SEP CNF XML file via TFTP MitM attack
Modified the GARP Setting to GARP Enabled
UCSniff running GARP Disablement bypass flood for IP Phone xxxx
You can still target a single host MitM without ARPing the whole VLAN by generating a targets.txt file.
I may make a basic bash script and post it for generating a targets.txt file, but its easily hand editable and would show something like:
XXXX.XXXX.XXXX.XXXX,ext,name,sccp
As part of my recently talked about network security course, I’ve been playing with VoIP security, trying to get everything working on my EEE 701.
Previously I gave instructions on running BT3 on a USB with persistence, this worked great on the EEE, however I ran into problems when running voiphopper. The EEE complained about not being able to add the VLAN interface to eth0 and therefore vlanhopping would not work.
ERROR: trying to add VLAN # to IF -:eth0:- error: Invalid argument
I did the usual and modprobed 8021q, checked other dependencies etc but it wouldnt go. The 701 runs an Attansic L2 card and in linux runs under the atl2 driver, so I did some research and found mixed reports on the net about VLAN tagging not being supported on the atl2. After no luck I even contemplated buying a newer netbook with supported hardware.
I’ve got another persitent distro, Ubuntu Netbook Remix, so I decided to test that as the atl2 drivers are built into the kernel and have changed recently. Long story short, VLAN tagging worked in UNR.
I tried to find newer atl2 drivers and load them manually into BT3, but couldnt find any readily and couldnt really be bothered searching too hard. I downloaded BT4 and made another persistent usb drive. Due to the newer Debian kernel used in BT4, VLAN tagging worked without a problem.
VLAN tagging and therefore voiphopper now worked. Next intercepting SCCP conversations. In my previous testing I was using UCsniff 2.4 to record SCCP conversations via ARP poisoning (MitM). This worked infrequently, and in my production environment (Clustered Cisco Call Manager 4.2(sr3a)) complained about GARP being disabled and that it would not record the conversation. Since then i’ve been hanging out for UCSniff 3.0 which was due to be released on the 24/10/09. They released it early! 😀
Another long story short, UCSniff 3.0 works under BT4 under an EEE 701 and happily records SCCP from CCM4.2.
Happy days!
I’ve yet to test packet injection on BT4, but dont expect too many problems with this.
Heres a step by step of the processes involved.
Create persistent BT4 on USB
Followed the directions outlined here:
- http://www.infosecramblings.com/backtrack/backtrack-4-usbpersistent-changesnessus
VLAN Support + VLAN Hopping
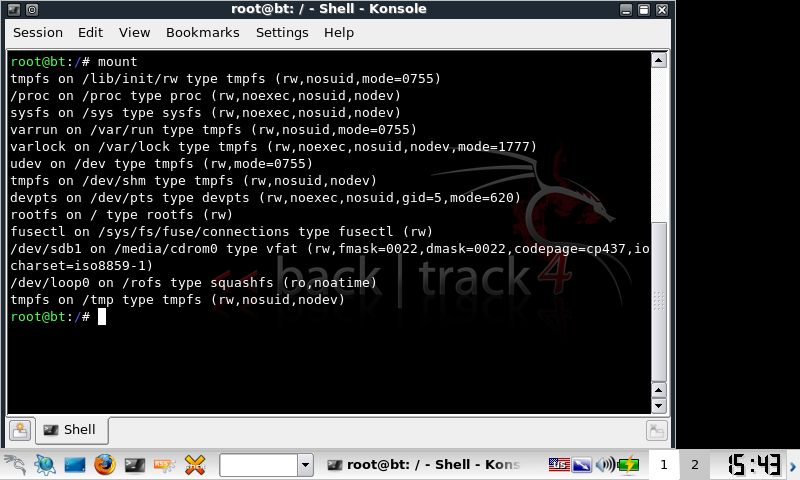
Firstly modprobe to enable VLAN tagging in the environment
modprobe 8021q
Connect to a cisco switchport with a similar switch config
switchport mode access
switchport access vlan 10
switchport voice vlan 20
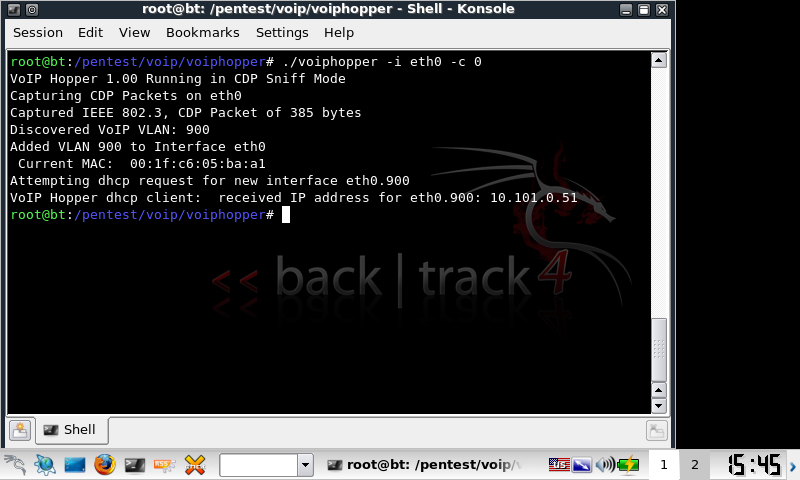
Try VLAN hopping with voiphopper
voiphopper -i eth0 -c 0
Download and compile UCSniff 3.0
Download UCSniff here:
- http://ucsniff.sourceforge.net/
Compiling
tar zxvf ucsniff-3.01.tar.gz
cd ucsniff-3.01
./configure
make
make install
MiTM SCCP
To record all SCCP conversations on the voice VLAN
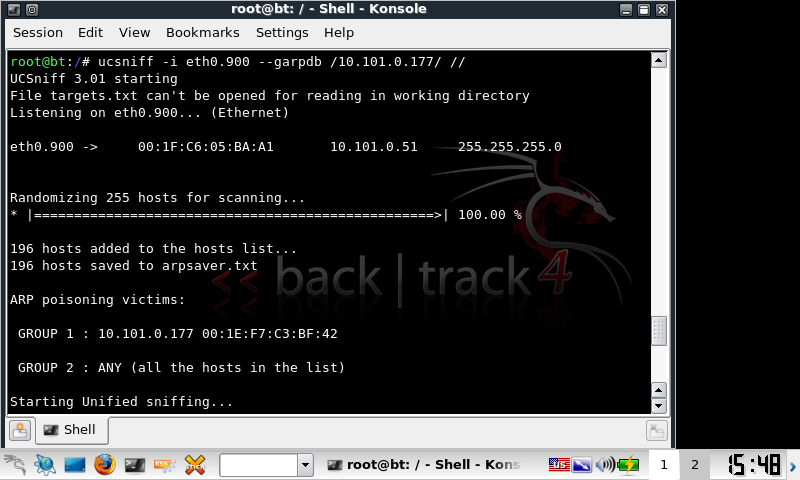
ucsniff -i eth0.20 --garpdb // //
Or to target a particular IP phone, without enumerating the targets on the voice VLAN first
ucsniff -i eth0.20 --garpdb /XXXX.XXXX.XXXX.XXXX/ //
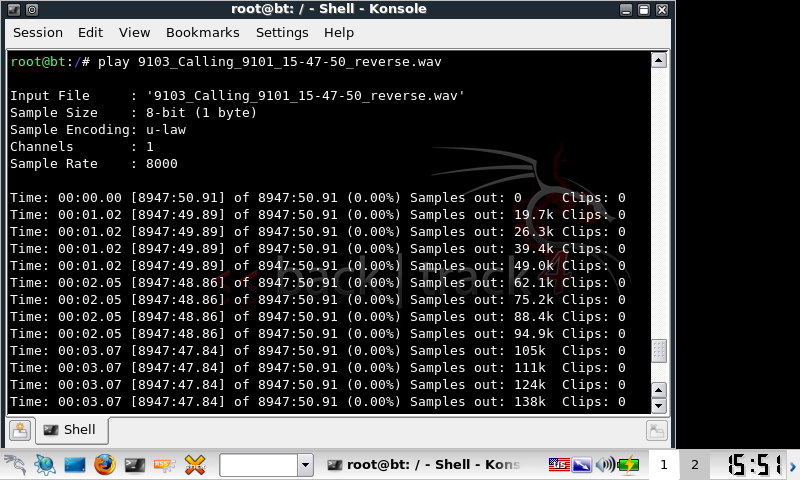
Finally play back the file from the commandline
play filename.mp3
So im currently studying for my Advanced Diploma of Network Security after completing my Diploma of Network Engineering about 12months ago. As part of my course I will be studying CEH, however I’ve decided to get a jump on things by integrating security into all my other subjects. I pulled out the long neglected EEEPC 701 that I was given as part of finishing my NE course and work on CCNA Security and CCNA Wireless.
Heres a pretty simple guide to getting the 701 up and running with a persistent Backtrack 3 on usb, fingerprinting with Kismet and cracking WEP with wesside-ng.
Firstly I followed the persistent usb details outlined at:
- http://forums.remote-exploit.org/tutorials-guides/14486-bt3-usb-persistent-changes-using-linux.html
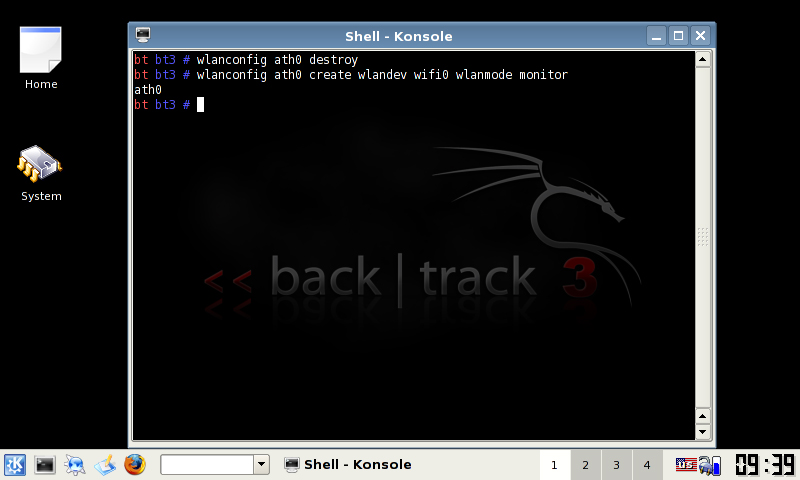
Secondly for each time you want to inject packets or use kismet run the following:
wlanconfig ath0 destroy
wlanconfig ath0 create wlandev wifi0 wlanmode monitor
To run kismet, you will have to modify the following file. If you’re running BT3 live without persistence you will have to do this every time.
Edit /usr/local/etc/kismet.conf and change source to:
source=madwifi_g,wifi0,wifi0
Finally, I wont record another WEP video like every other person on the net – just run the following to find the bssid mac of the AP (from kismet):
wesside -i ath0 -v MAC
Next I plan on running easside-ng for those networks where something doesn’t go right (occasional). Ill throw the details up for that when I’ve done it.
I found a great quote on the Ubuntu security forums today.
I have been toying with the idea of setting up SNORT and managed AV and found this at the beginning of the tutorial.
“Paranoia will get you through times of no enemies better than enemies will get you through times of no paranoia” ~ Pete Granger
This quote so easily spells out the best approach IT security.
Genius.
The other day whilst browsing OC I came across a readable code of the PHP/Obfu.A IRC bot. I’m not sure whether the user contributed the actual readable code or had edited one of the obfuscated versions, but I decided to take a look at it.
It seems that PHP/Obfu.A was detected on the 30h of Jan 08 by two sources:
- http://www.f-secure.com/weblog/archives/00001371.html
- http://www.teamfurry.com/wordpress/2008/01/30/php-based-IRC-botnet-fast-flux-of-course/
Obfu.A is a RFI IRC bot that uses vulnerabilities in PHP code to execute remote PHP scripts. It uses the compromised site to load the remote script, join an IRC server (or in this case a number of IRC servers), and is then controllable by the bot-master. It is heavily obfuscated including the variables and server settings.
For more information on RFI exploits, see:
- http://www.offensivecomputing.net/?q=node/624
- http://en.wikipedia.org/wiki/Remote_File_Inclusion
I was about to test the usability of the code, but found that all settings, server details, passwords etc, were encrypted so as to further obfuscate the code. The script included a decrypting function using a cipher-key type of encryption, but had no function to encrypt. I set about analysing the decryption process and reversed it to create an encryption code so it would be usable in my tests.
Heres the original decrypt code:
function decrypt_settings($input)
 {
 $output = '';
 $input = base64_decode($input);
 for ($i = 0; $i < strlen($input); $i++) {
 $character = substr($input, $i, 1);
 $offset_character = substr(
 decode("M0AhIyFAJF4mKl4mQCMkIUAjIUAjISQjJSMkJSMkJWUzMkAzNEBoVGg0QHdlNTYz
NV4hQCMqXjdGSEdFJEAlQCNAIyRAIyFAIyQhQCNAISMkIyUj" .
 "JCVeJSZeJSYlXiYqU0RGI0AkIUZBVyRGQUFTREU="),
 ($i % strlen(decode("M0AhIyFAJF4mKl4mQCMkIUAjIUAjISQjJSMkJSMkJWUzMkAzNEBoVGg0QHdlNTYz
NV4hQCMqXjdGSEdFJEAlQCNAIyRAIyFAIyQ" .
 "hQCNAISMkIyUjJCVeJSZeJSYlXiYqU0RGI0AkIUZBVyRGQUFTREU="))) - 1,
 1
 );
 $character = chr(ord($character) - ord($offset_character));
 $output .= $character;
 }
 return $output;
 }
function decode($input)
 {
 $input = base64_decode(remove_spaces($input));
 return $input;
 }
function remove_spaces($input)
 {
 $input = str_replace(" ", "", $input);
 return $input;
 }
Those functions are called by something like decrypt_settings($settings[‘mo’]). In this case mo from the array had the value of cqtrig==
Let’s take a look at what its doing. First the function is called, and $input receives the value of an encrypted string. $input is then base64 decoded. Base64 is a type of encryption which PHP has functions for both encryption and decryption. We will work with the encrypted string cqtrig==.
The base64 decoded value is r«kŠ, which means nothing to us so far.
Next is the for loop, which basically says, increment $i whilst the value of $i is still less than the length of the $input string, which in this case is 4 characters, so run the loop 4 times.
$character gains the value of each letter, so on the first pass though the for loop, it will contain r, second «, etc etc
Then we find the $offset_character. At this point it is easiest for reading if we base64 decode the M0Ah…..
3@!#!@$^&*^&@#$!@#!@#!$#%#$%#$%e32@34@hTh4@we5635^!@#*^7FHGE$
@%@#@#$@#!@#$!@#@!#$#%#$%^%&^%&%^&*SDF#@$!FAW$FAASDE
is the resulted value.
Now the substr function will return a portion of the string which is defined by where the starting point is, and how many characters to take. substr ( string $string , int $start [, int $length ] )
3@!#!….. is our string.
The starting point is found by using another equation, $i % strlen(decode(“M0Ah……) -1. This piece of code finds the remainder value of $i divided by the string length value of 3@!#!…. So in essence it takes $i divided by 113 and the result is the remainder minus 1.
From tests that i did, the result of the equation is always one value less than $i. Then it takes one character after its pointer. So if $i is character number 26 in our encrypted string, substr will take the 26th character from the cipher text of 3@!#!….
For example on the first pass through the for loop, $i = 0, which means that substr’s result will be $offset_character = substr(3@!#!…. , -1, 1), so move the pointer one character from the end of the string, then let $offset_character equal that value. So therefore the first run through the for loop, $offset_character will equal E (from the end of 3@!#!….), the second run through $offset_character will equal 3, third @, etc etc.
So back to our example of r«kŠ,
Pass one through the for loop:
$character = r
$offset_character = E
Pass two through the for loop:
$character = «
$offset_character = 3
Pass three through the for loop:
$character = k
$offset_character = @
Pass four through the for loop:
$character = Š
$offset_character = !
Now after we have our $character and $offset_character vars filled, they are put through this: $character = chr(ord($character) – ord($offset_character))
Lets simplify it, ord($character) – ord($offset_character). ord is a built in PHP function which finds the ASCII value of a character. I found a decent ASCII table site here:
- http://pages.videotron.com/cdao/ASCII.htm
So for r and E in our example, r = 114, E = 69, so 114 – 69 = 45. So now in our function $character = chr(45). chr is a built in PHP function which returns the character value of an ASCII value. In this case 45 = –
So at the end of the for loop for the first pass $character equals -, which is the appended to $output by $output .= $character;
After we run through the four passes of the four loop, we should get -x+i, which is our decrypted setting!
In PHP/Obfu.A -x+i is used as the channel mode. However this process can be applied to all settings.
Now we know it decrypts the settings, how about encrypt?
This is what we have so far, r – E = – or 114 – 69 = 45.
So to encrypt we have r as our unknown (x) so x – E = – or x – 69 = 45.
Using maths (:o!) we can find x by, x = – + E and then rearranging to get x = 45 + 69, therefore x = 114
Now the fun part, rearranging the PHP to encrypt. We will reuse the decryption function and just move some things, as most of it stays the same.
Seeing as were starting off with what we want to encrypt, we don’t need to base64 decode it, so we can remove $input = base64_decode($input). The for loop stays the same, as were using the same principles of the cipher text.
Although when it comes to $character = chr(ord($character) – ord($offset_character)), we now want to add the ASCII values to gain our encrypted value, so it becomes $character = chr(ord($character) + ord($offset_character));
Finally we want to base64 encode the entire string, not just the individual characters. This is because the first thing when decrypting, is the string is base64 decoded, so we want to base64 encode. To do this to the entire string it needs to be outside the for loop.
The final encrypt function should look like this:
function encrypt_settings($input)
 {
 $output = '';
for ($i = 0; $i < strlen($input); $i++) {
 $character = substr($input, $i, 1);
 $offset_character = substr(
 decode("M0AhIyFAJF4mKl4mQCMkIUAjIUAjISQjJSMkJSMkJWUzMkAzNEBoVGg0QHdlNTYz
NV4hQCMqXjdGSEdFJEAlQCNAIyRAIyFAIyQhQCNAISMkIyUj" .
 "JCVeJSZeJSYlXiYqU0RGI0AkIUZBVyRGQUFTREU="),
 ($i % strlen(decode("M0AhIyFAJF4mKl4mQCMkIUAjIUAjISQjJSMkJSMkJWUzMkAzNEBoVGg0QHdlNTYz
NV4hQCMqXjdGSEdFJEAlQCNAIyRAIyFAIyQ" .
 "hQCNAISMkIyUjJCVeJSZeJSYlXiYqU0RGI0AkIUZBVyRGQUFTREU="))) - 1,
 1
 );
 $character = chr(ord($character) + ord($offset_character));
 $output .= $character;
 }
 return base64_encode($output);
 }
You can call this function using something similar to this:
$encrypted_settings = encrypt_settings("yoursettings");
 echo($encrypted_settings);
So then you should have your encrypted string!
Hopefully this week ill be able to analyse the rest of the bot, but now most of the hard work is done by figuring out the encryption.
Hope this helps, have fun 🙂
An exploit exists in Media Player Classic when processing a crafted MP4 file. The file causes a stack overflow which can be used to execute shellcode.
Source code available at: http://milw0rm.com/exploits/4701
Movie of compiling and exploiting:
http://www.ecks90.com/files/mplayer.exploit.movie.rar