WARNING: This will be a very long (hopefully) and comprehensive series on rolling your own security distribution from picking hardware to installation and exploitation.
NOTE: This page will be most likely edited every time a change is committed so as to keep the information up to date in the real world. If anything major changes (new version of breaking WPA/WPA2 etc a new post will most likely be made to feature the tool/method). Check the modified date on the post to find the latest updates.
As mentioned in the first part of the series, any of these steps can be completed in either a virtual or physical environment. In fact, I have done the below in both environments and everything is working as well as can be expected.
Just to re-iterate my requirements were:
– VMware Workstation/Physical install.
– Ubuntu 12.04 base.
– Alfa AWUS036H wireless adapter.
– Ability to audit wireless networks (aircrack, reaver etc).
– Ability to audit generic network devices (metasploit, openvas etc).
– Ability to audit VoIP networks (ucsniff etc) .
Therefore this guide will show you how to install and configure:
– Ubuntu 12.04 i386 (explained as a note).
– VMware tools for those inside VMware workstation.
– Patched rtl8187 drivers to fix the channel -1 issue in airodump-ng.
– Nmap.
– Kismet.
– Aircrack-ng with Wesside-ng.
– Reaver.
– Gerix Wifi Cracker.
– UCSniff.
– Metasploit.
– TeamViewer.
– Chrome.
NOTE: As mentioned, I’m installing the i386 version of 12.04. Typically I would stick with the amd64 version, however the installation notes on UCSniff mention that 64bit 12.04 is not supported. I have yet to test UCSniff under 64bit (because perhaps 1 or 2 functions fail to work?) however, just for now, I have opted for the safe option in going i386.
As the post defines this is how to roll your own distro, I’m going to assume that everyone know how to install Ubuntu, but just in case, I’ve thrown a screenshot for every step along the way. As the screenshots for just the OS install are self explanatory there is no text to go with these steps.
NOTE: The screenshots were taken when installing into a VM. There are slightly different steps when installing to an external HDD or a different partition. If you want to try something else, watch out for step 3.
Installing Ubuntu 12.04

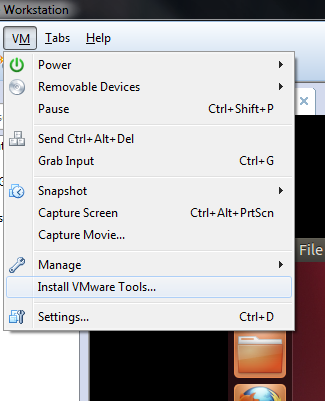
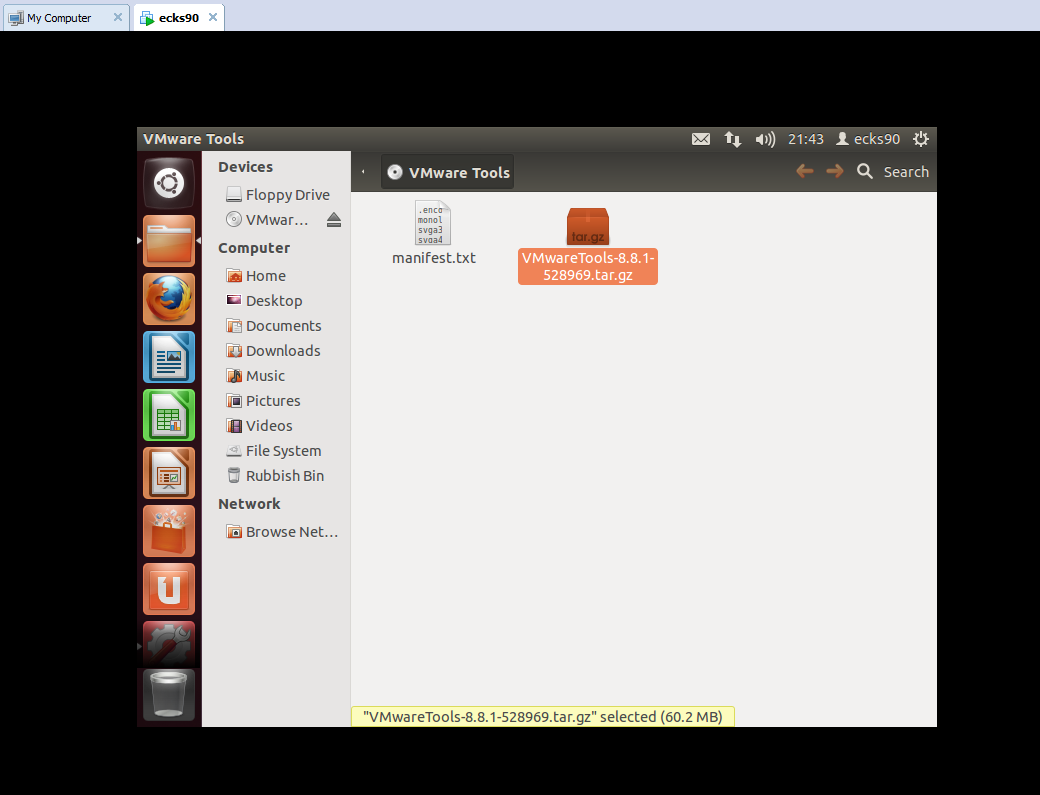
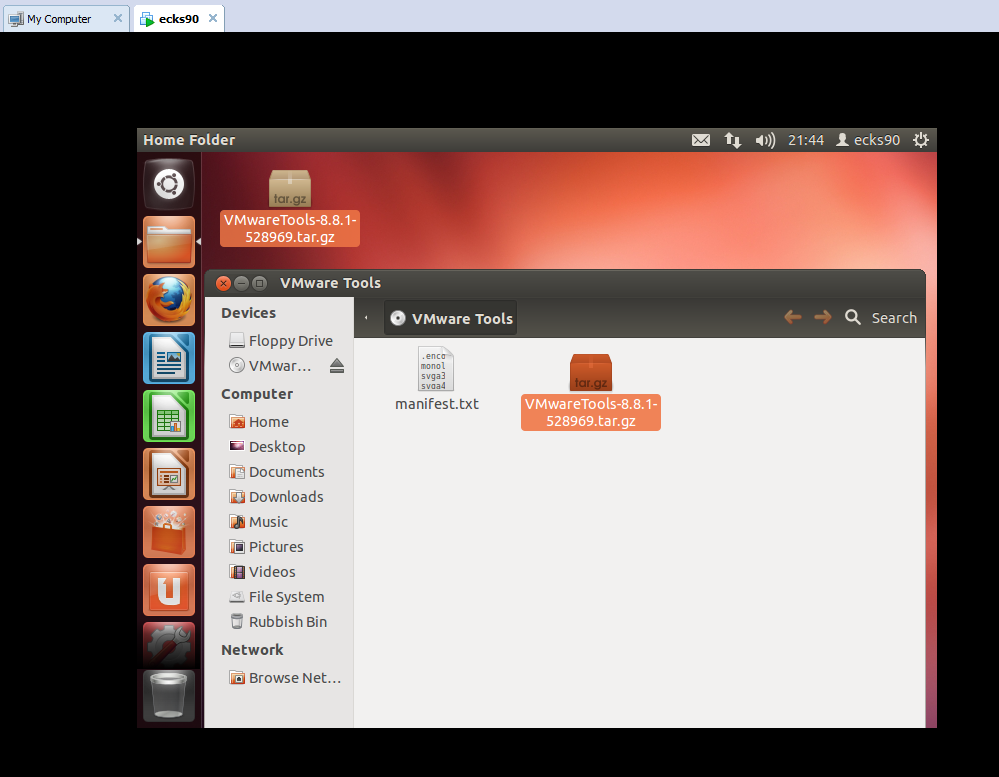
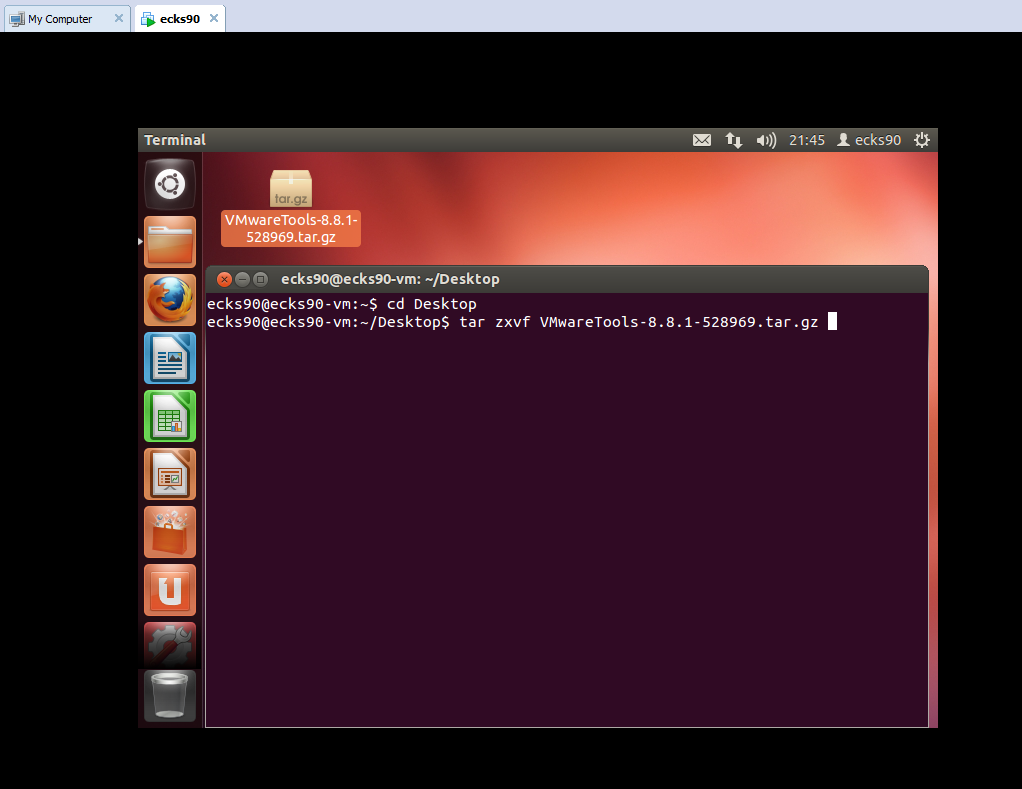
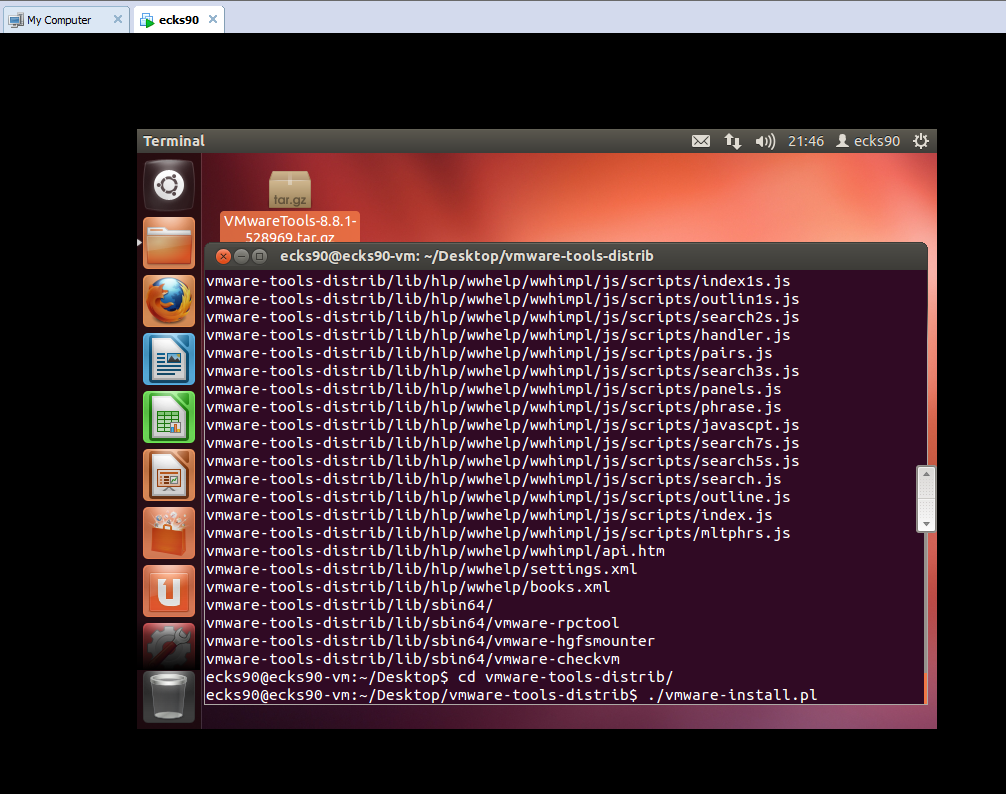
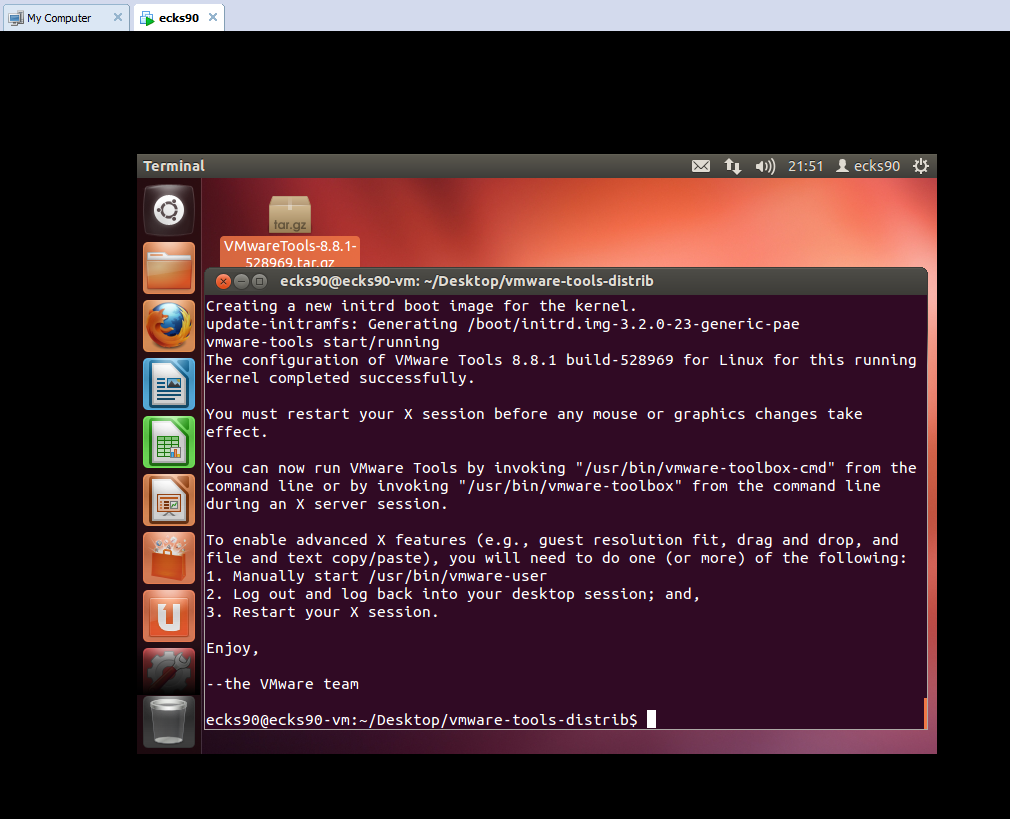
Installing VMware Tools
Obviously this is only applicable to those inside a VM.
A rough outline of steps:
1. Mount the VMware tools .iso.
2. Copy the tar to the desktop.
3. Open a shell as root.
4. execute tar zxvf <vmwaretoolsfilename>.
5. cd <vmwaretoolsfilename>.
6. execute ./install.pl.
7. Enter on all defaults.
8. Say yes to configure.
9. Enter on all defaults.
10. Reboot the machine by executing shutdown -r now.
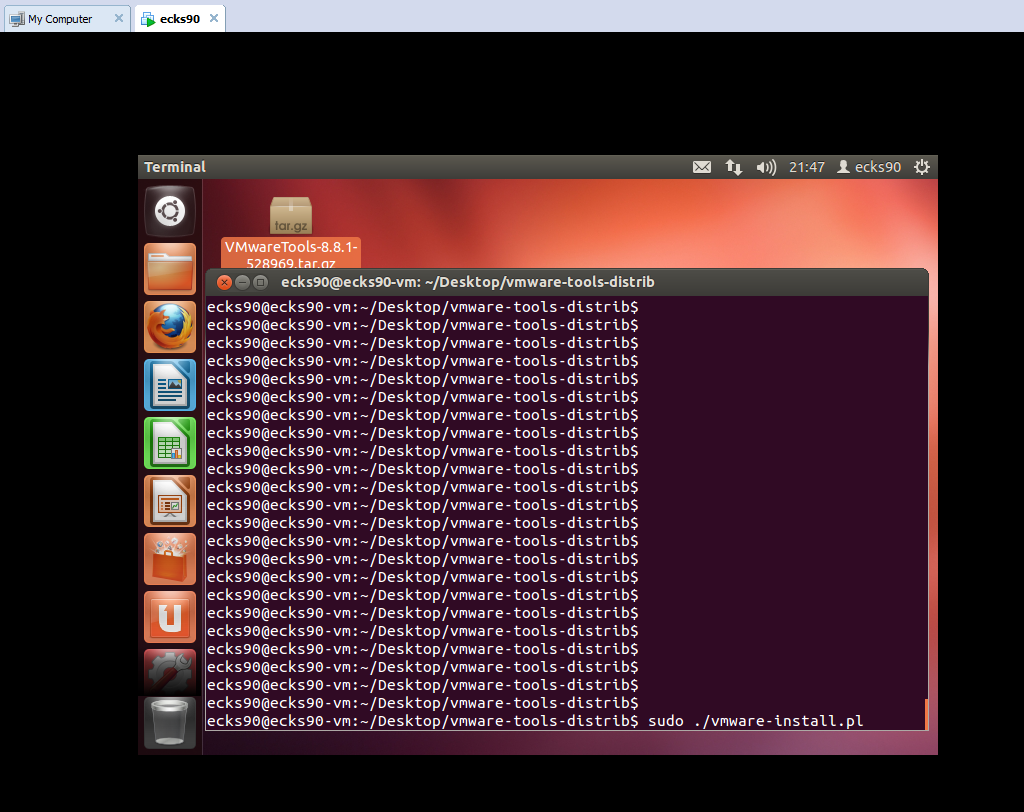
NOTE: Most of the below steps require root for installation, file editing etc. I’m going to leave out the sudo on most commands but if you run into problems, just use your head and su or sudo.
Patching The RTL8187
There is a bug in the rtl8187 drivers that are distributed with the 12.04 distribution. Injection works straight out the box, but when trying to explicitly run an airodump-ng on a particular channel, airodump complains that the channel your card is bound to is -1. Luckily there is still an old patch for this driver which fixes the issue. For anyone wanting to dig into the details you can follow the process here: http://www.aircrack-ng.org/doku.php?id=compat-wireless
Here is the process I used:
wget http://www.orbit-lab.org/kernel/compat-wireless-3-stable/v3.5/compat-wireless-3.5-rc5-1.tar.bz2
tar -jxf compat-wireless-3.5-rc5-1.tar.bz2
cd compat-wireless-3.5-rc5-1
wget http://patches.aircrack-ng.org/mac80211.compat08082009.wl_frag+ack_v1.patch
patch -p1 < mac80211.compat08082009.wl_frag+ack_v1.patch
make
make install
make wlunload
modprobe rtl8187
wget http://www.orbit-lab.org/kernel/compat-wireless-3-stable/v3.5/compat-wireless-3.5-rc5-1.tar.bz2tar -jxf compat-wireless-3.5-rc5-1.tar.bz2cd compat-wireless-3.5-rc5-1wget http://patches.aircrack-ng.org/mac80211.compat08082009.wl_frag+ack_v1.patchpatch -p1 < mac80211.compat08082009.wl_frag+ack_v1.patchmakemake installmake wlunloadmodprobe rtl8187
Nmap
The next is an easy one. Nmap just install directly from the ubuntu repository.
apt-get install nmap
Kismet
I still love using Kismet for wireless mapping. I’m sure there are more fancy graphical tools for wireless (which I don’t know about – so please let me know about them!) but at the moment, I’m still preferring Kismet. Kismet also installs from the ubuntu repository which is nice. After installation we will edit the source interface to capture from. Obviously if you’re using a different card type or interface number adjust accordingly.
apt-get install kismet
nano /etc/kistmet/kistmet.cfg
edit line 28
source=rt8187,wlan0,wlan0
Aircrack-ng with Wesside-ng
I am still yet to review pyrit properly, but for a while now aircrack-ng has been the default standard for wireless auditing. We need to install some decencies first and then compile from source.
NOTE: I have yet to have success with wesside-ng on 12.04, however I still have hope as it has to be the easiest way to break WEP encryption. If you don’t want to try wesside (or easside for that matter) then don’t build unstable=true.
apt-get install build-essential
apt-get install libssl-dev
wget  http://download.aircrack-ng.org/aircrack-ng-1.1.tar.gz
tar zxvf aircrack-ng-1.1.tar.gz
cd aircrack-ng-1.1
nano common.mak
at line 70 replace
CFLAGS ?= -g -W -Wall -Werror -O3
with
CFLAGS ?= -g -W -Wall -O3
make
make install
airodump-ng-oui-update
make install unstable=true
make install
cp src/wesside-ng /usr/local/sbin
Reaver
Reaver is our next tool, which is an interesting vector attack on WPA2 devices. Reaver attempts to bruteforce the WPS auto-provisioning feature of the router to gain access and expose the PSK. For Reaver we will install some dependencies then compile from source. The details for this install were originally found here: http://nakedproof.blogspot.com.au/2011/12/installing-reaver-12-on-ubuntu.html
apt-get install libpcap-dev aircrack-ng sqlite3 libsqlite3-dev
Download the latest Reaver from: https://code.google.com/p/reaver-wps/downloads/list
tar zxvf
cd
cd src
./configure
make
make install
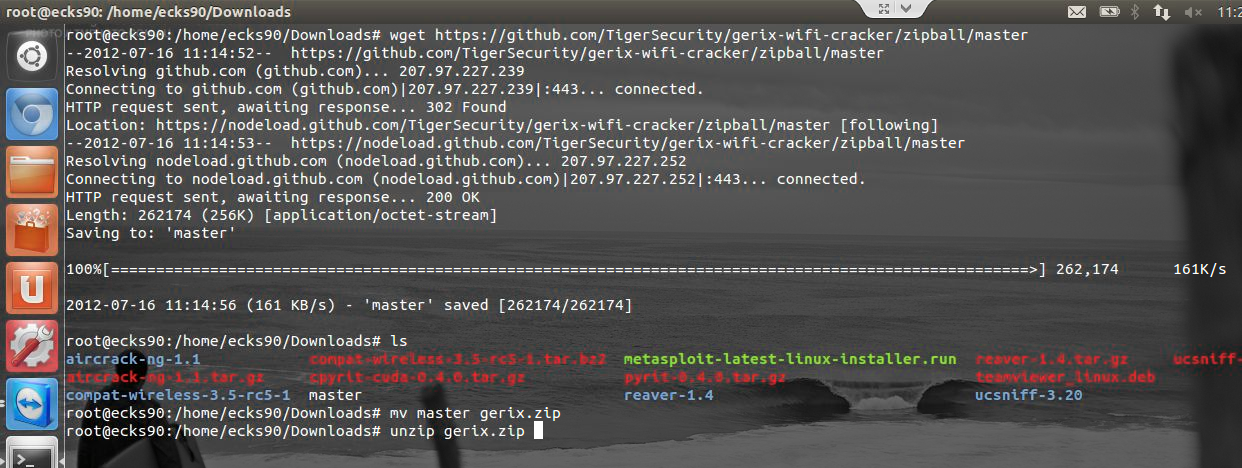
Gerix Wifi Cracker
I first stumbled across Gerix whilst in Backtrack. Gerix is neat python based tool for automating the process of aircrack/airodump commands. There is a fair bit of information on the net/youtube videos on how to use Gerix (which I have yet to nail down) but for now just having it on the system is good enough. There is a python dependency for Gerix before downloading and moving the app.
apt-get install python-qt3
wget https://github.com/TigerSecurity/gerix-wifi-cracker/zipball/master
mv master gerix.zip
unzip gerix.zip
mv  /opt/
cd /opt/
ln -s gerix.py /usr/local/sbin
UCSniff
As mentioned in my previous posts from ages ago, UCSniff is an awesome tool for testing VoIP security. It is heavily focused on the Cisco Call Manager arena, but it works on other platforms too. In recent versions, they’ve wrapped a pretty easy to use GUI around the app and have pretty good video support. As mentioned earlier, the UCSniff team mentioned that they only support UCSniff under i386, so that’s what I’m working with. As from their site, we need to install some dependencies from the ubuntu repository and then compile from source.
apt-get install zlib1g-dev liblzo2-dev libpcap0.8-dev libnet1-dev libasound2-dev libbz2-dev libx11-dev libxext-dev libfreetype6-dev vlc libvlc-dev libavformat-dev libavdevice-dev libswscale-dev libavfilter-dev libx264-dev libav-tools
apt-get remove pulseaudio
wget http://downloads.sourceforge.net/project/ucsniff/ucsniff/ucsniff-3.2%20src/ucsniff-3.20.tar.gz
tar -zxvf ucsniff-xxx.tar.gz
cd ucsniff-xxx
./configure –enable-libvlc –enable-gui
make
make install
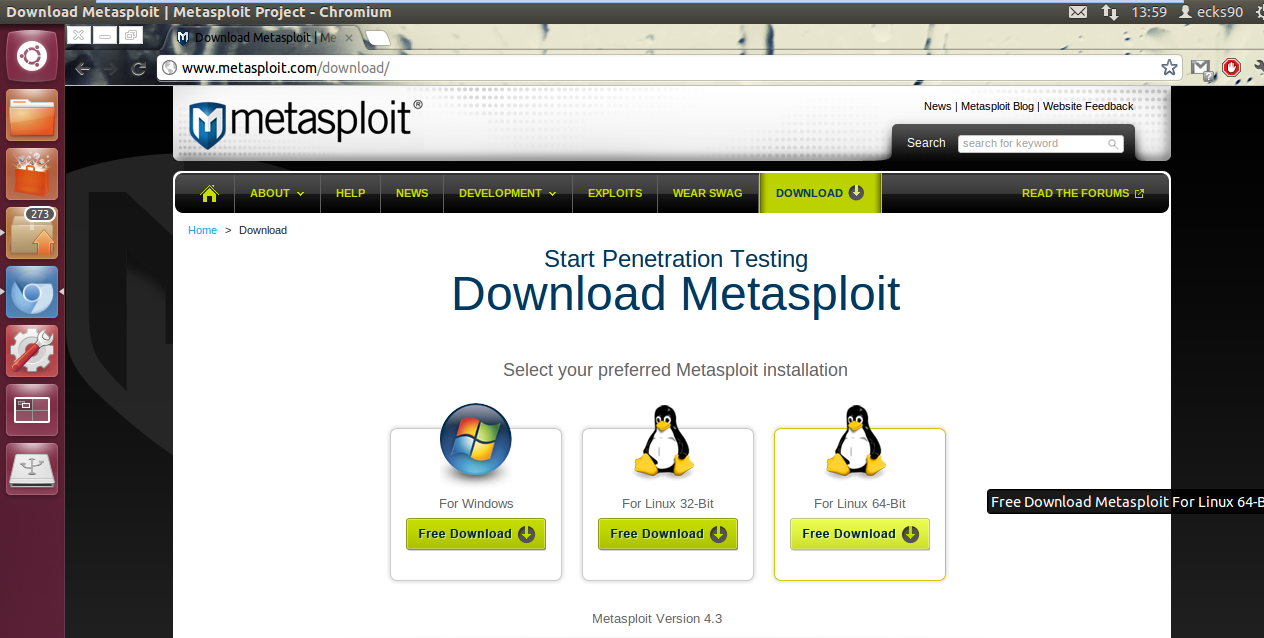
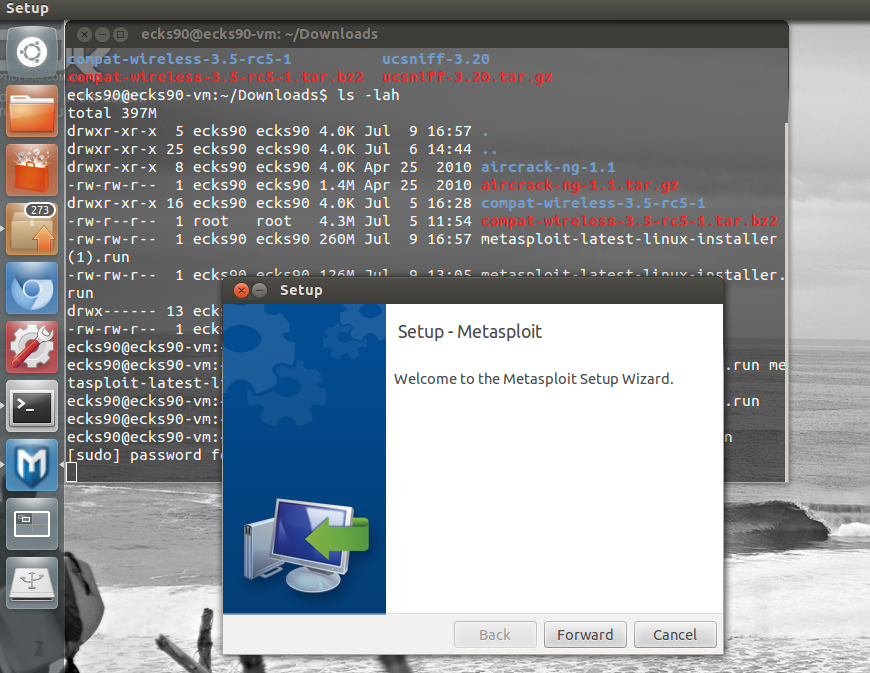
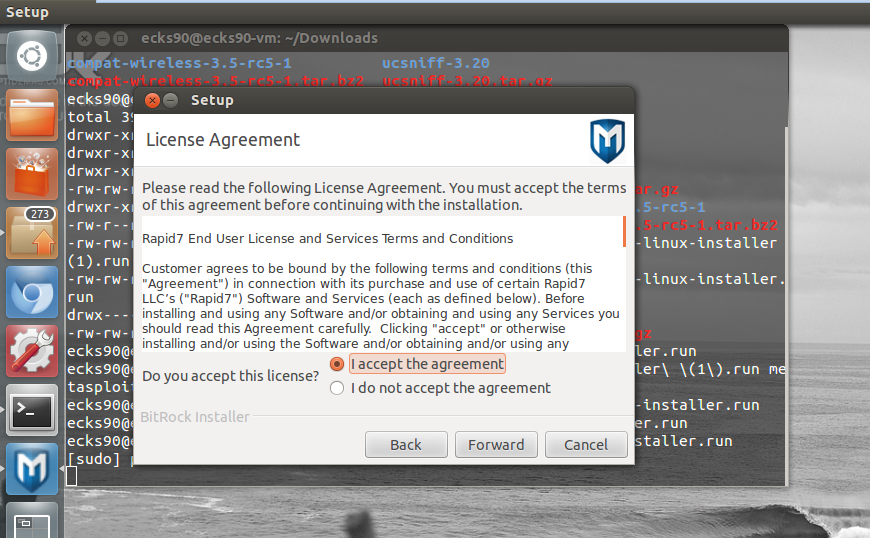
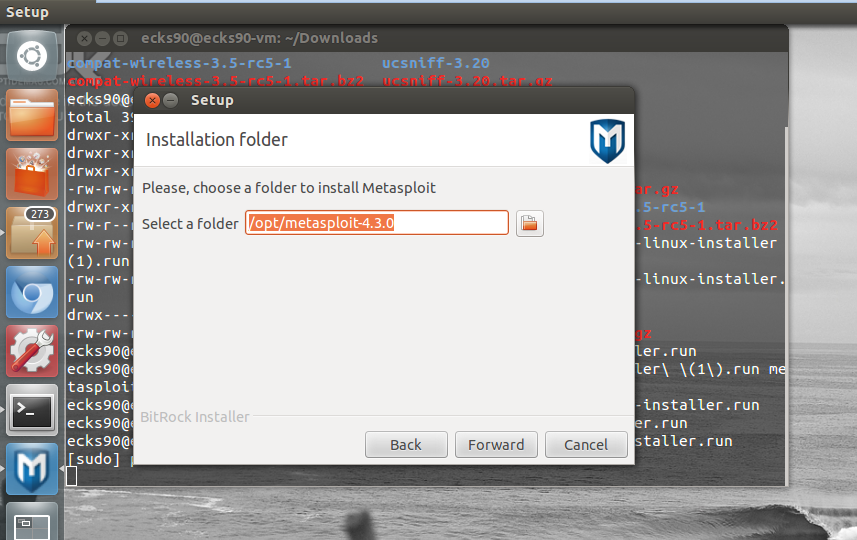
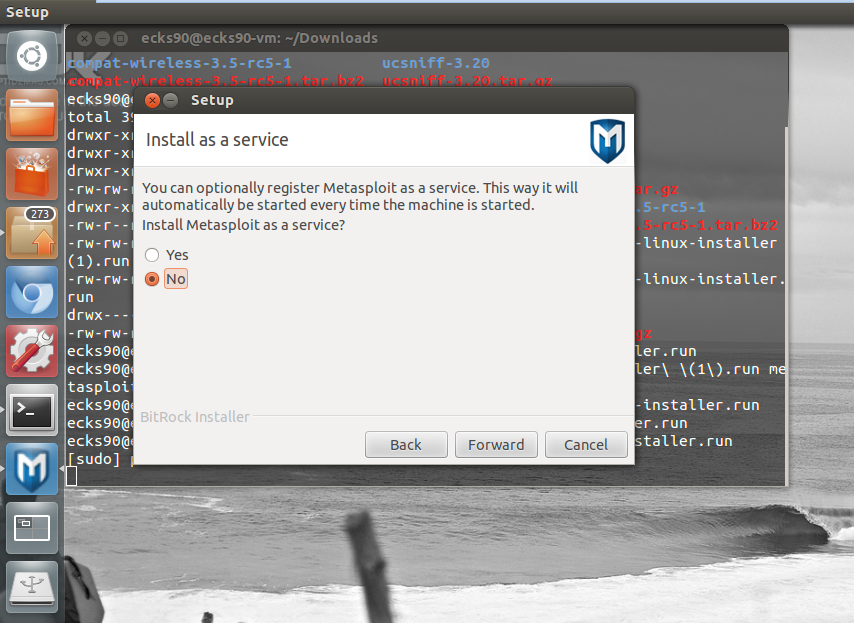
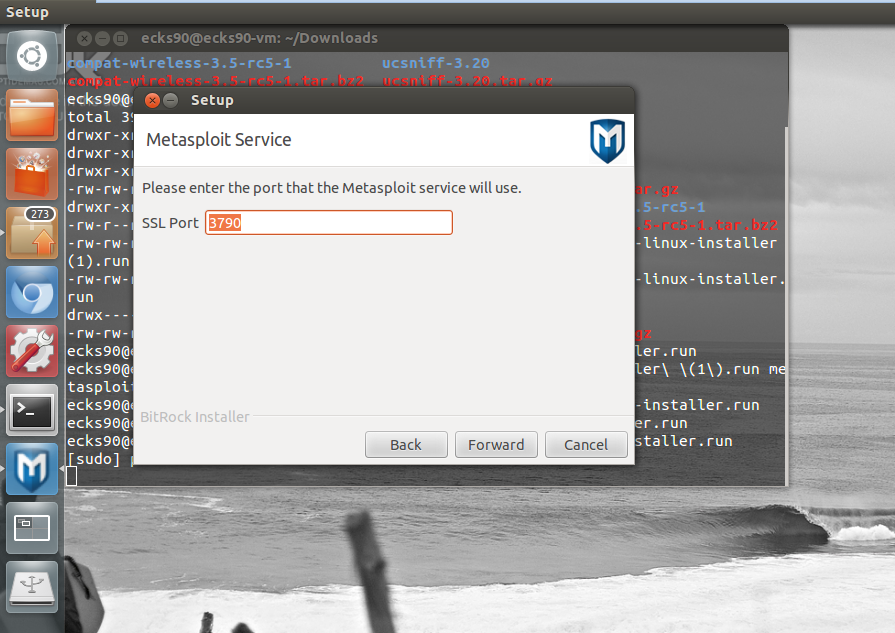
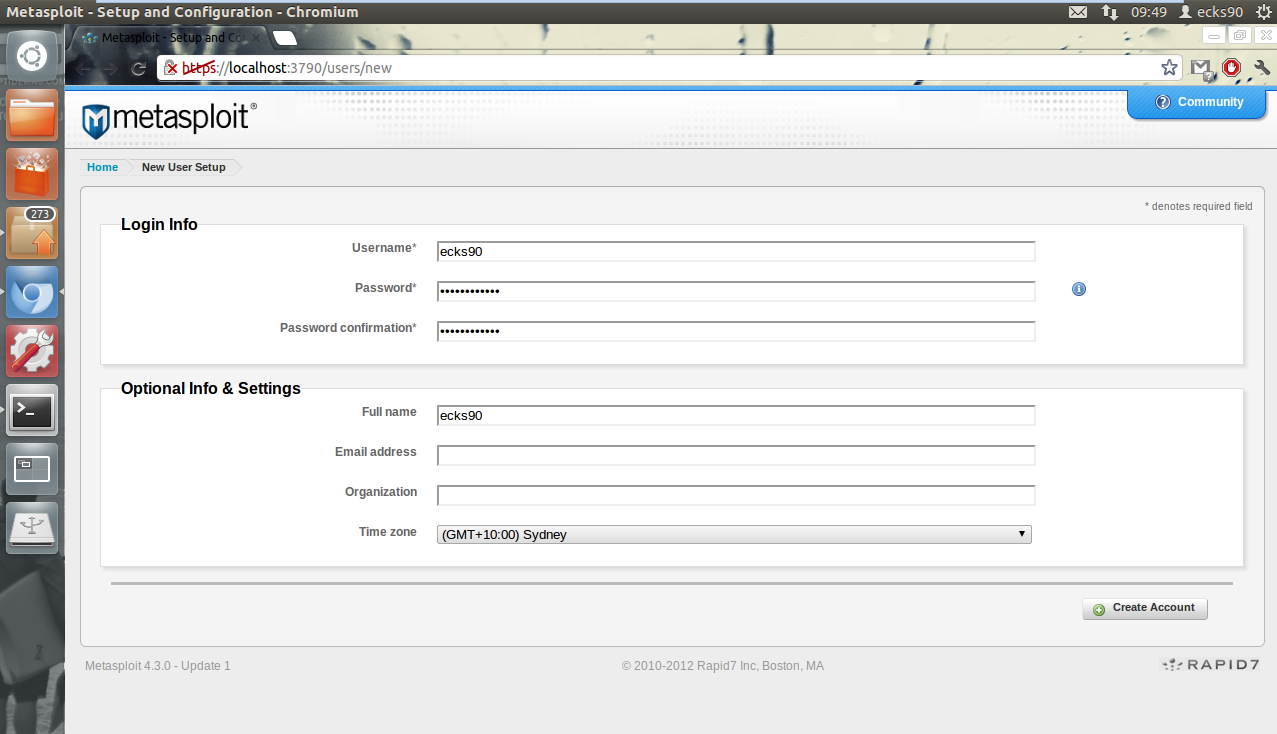
Metasploit
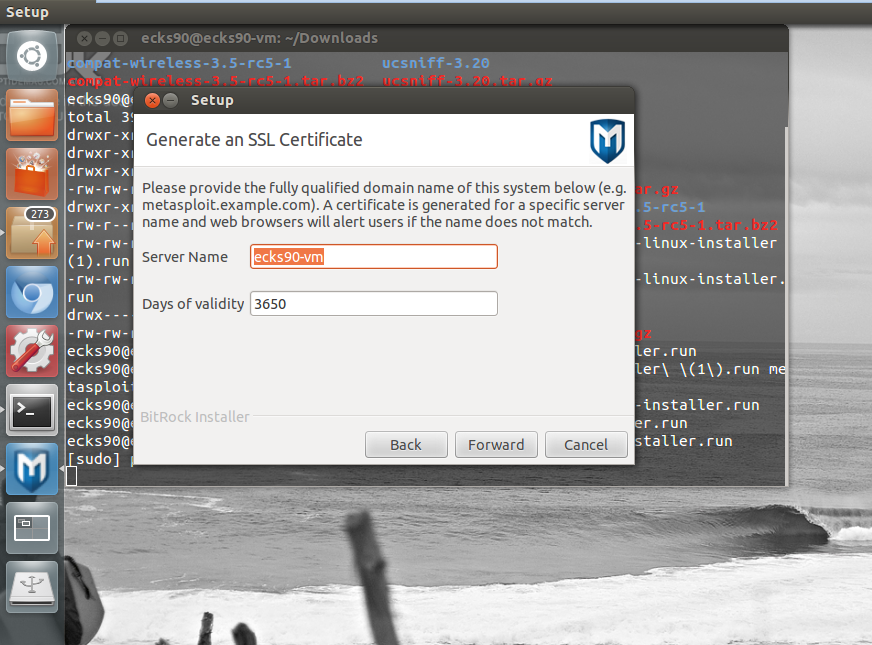
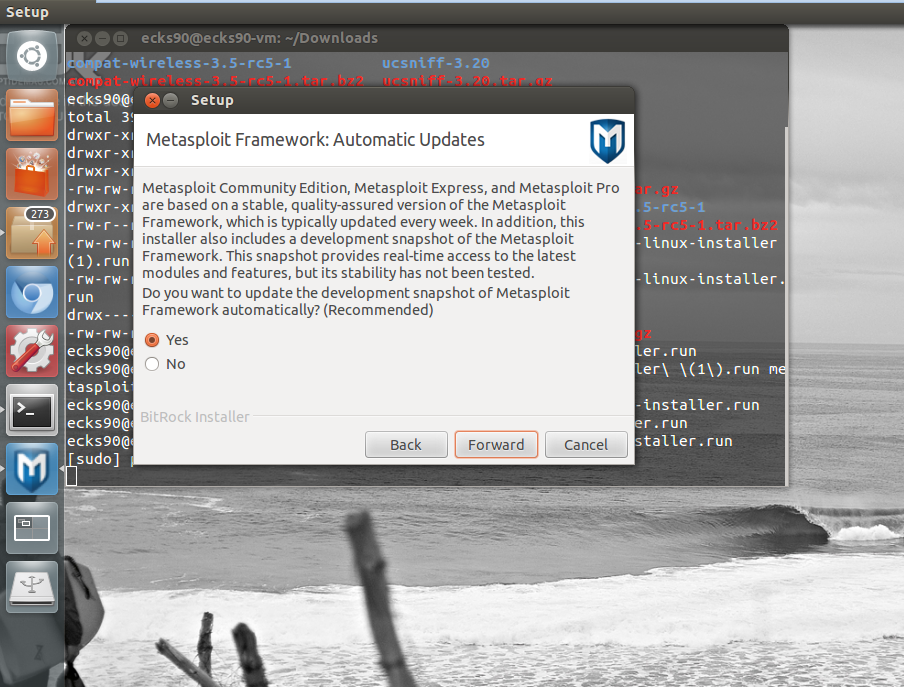
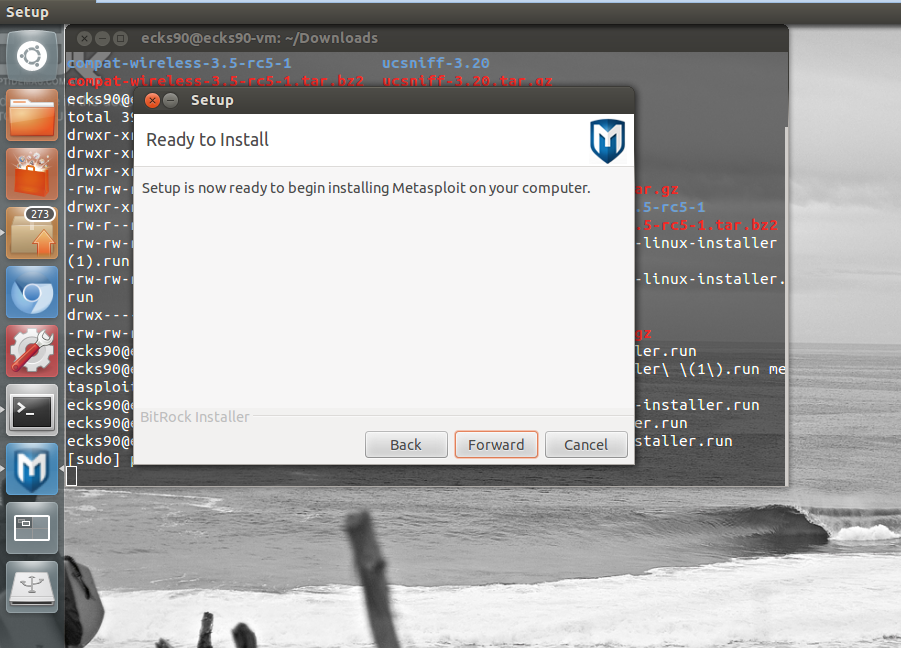
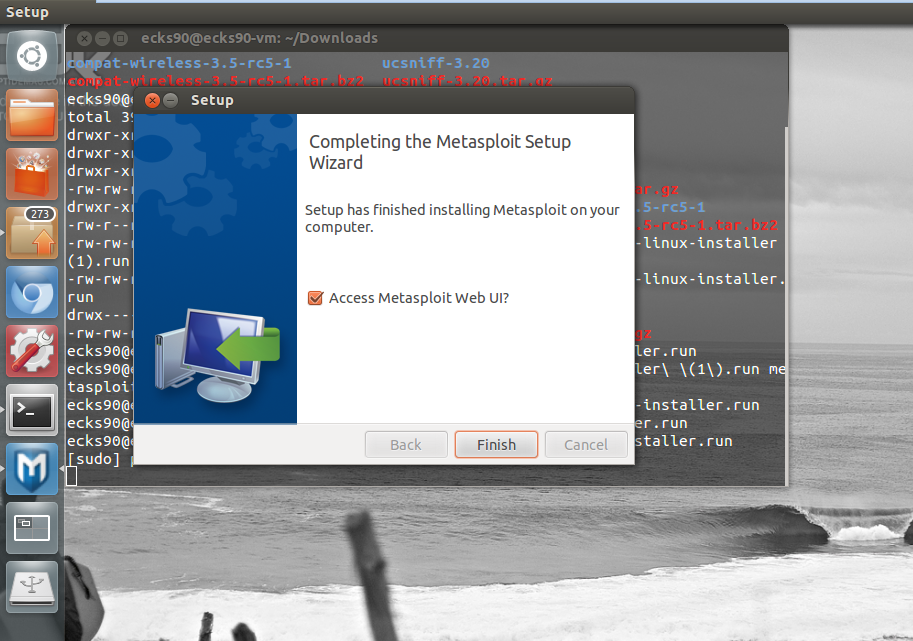
No security distro would be complete without Metasploit. Back in the day Metasploit was a little difficult to install, but now it’s dead simple. Nothing too hard here just download, chmod, run and do as the screenies say.
download metasploit for linux (either 32 or 64bit)
chmod 775 metasploit-latest-linux-installer.run
sudo ./metasploit-latest-linux-installer.run

TeamViewer & Chrome
Even though this is a security distro, I’m personalising it with my own apps. There’s nothing worse than being stuck in an environment waiting for something to happen with no niceties from a normal distro.
Chrome can be installed via the Ubuntu Software Centre while TeamViewer can be installed by opening the .deb that you download from their website.
Keep in mind that this page will be added to when more software is needed/discovered/remembered.